Description:
In this project we build Smoke Detector using Arduino and MQ2 Gas Sensor. Here, the MQ2 Gas Sensor is used to detect Smoke. When the gas is detected the LED glows and Buzzer makes sound. Also an alert message is displayed on the 16×2 LCD Display. Everything is controlled using Arduino UNO.
Circuit Diagram:

Components:
| SR. NO. | COMPONENT | PINOUT DIAGRAM | BUY |
|---|---|---|---|
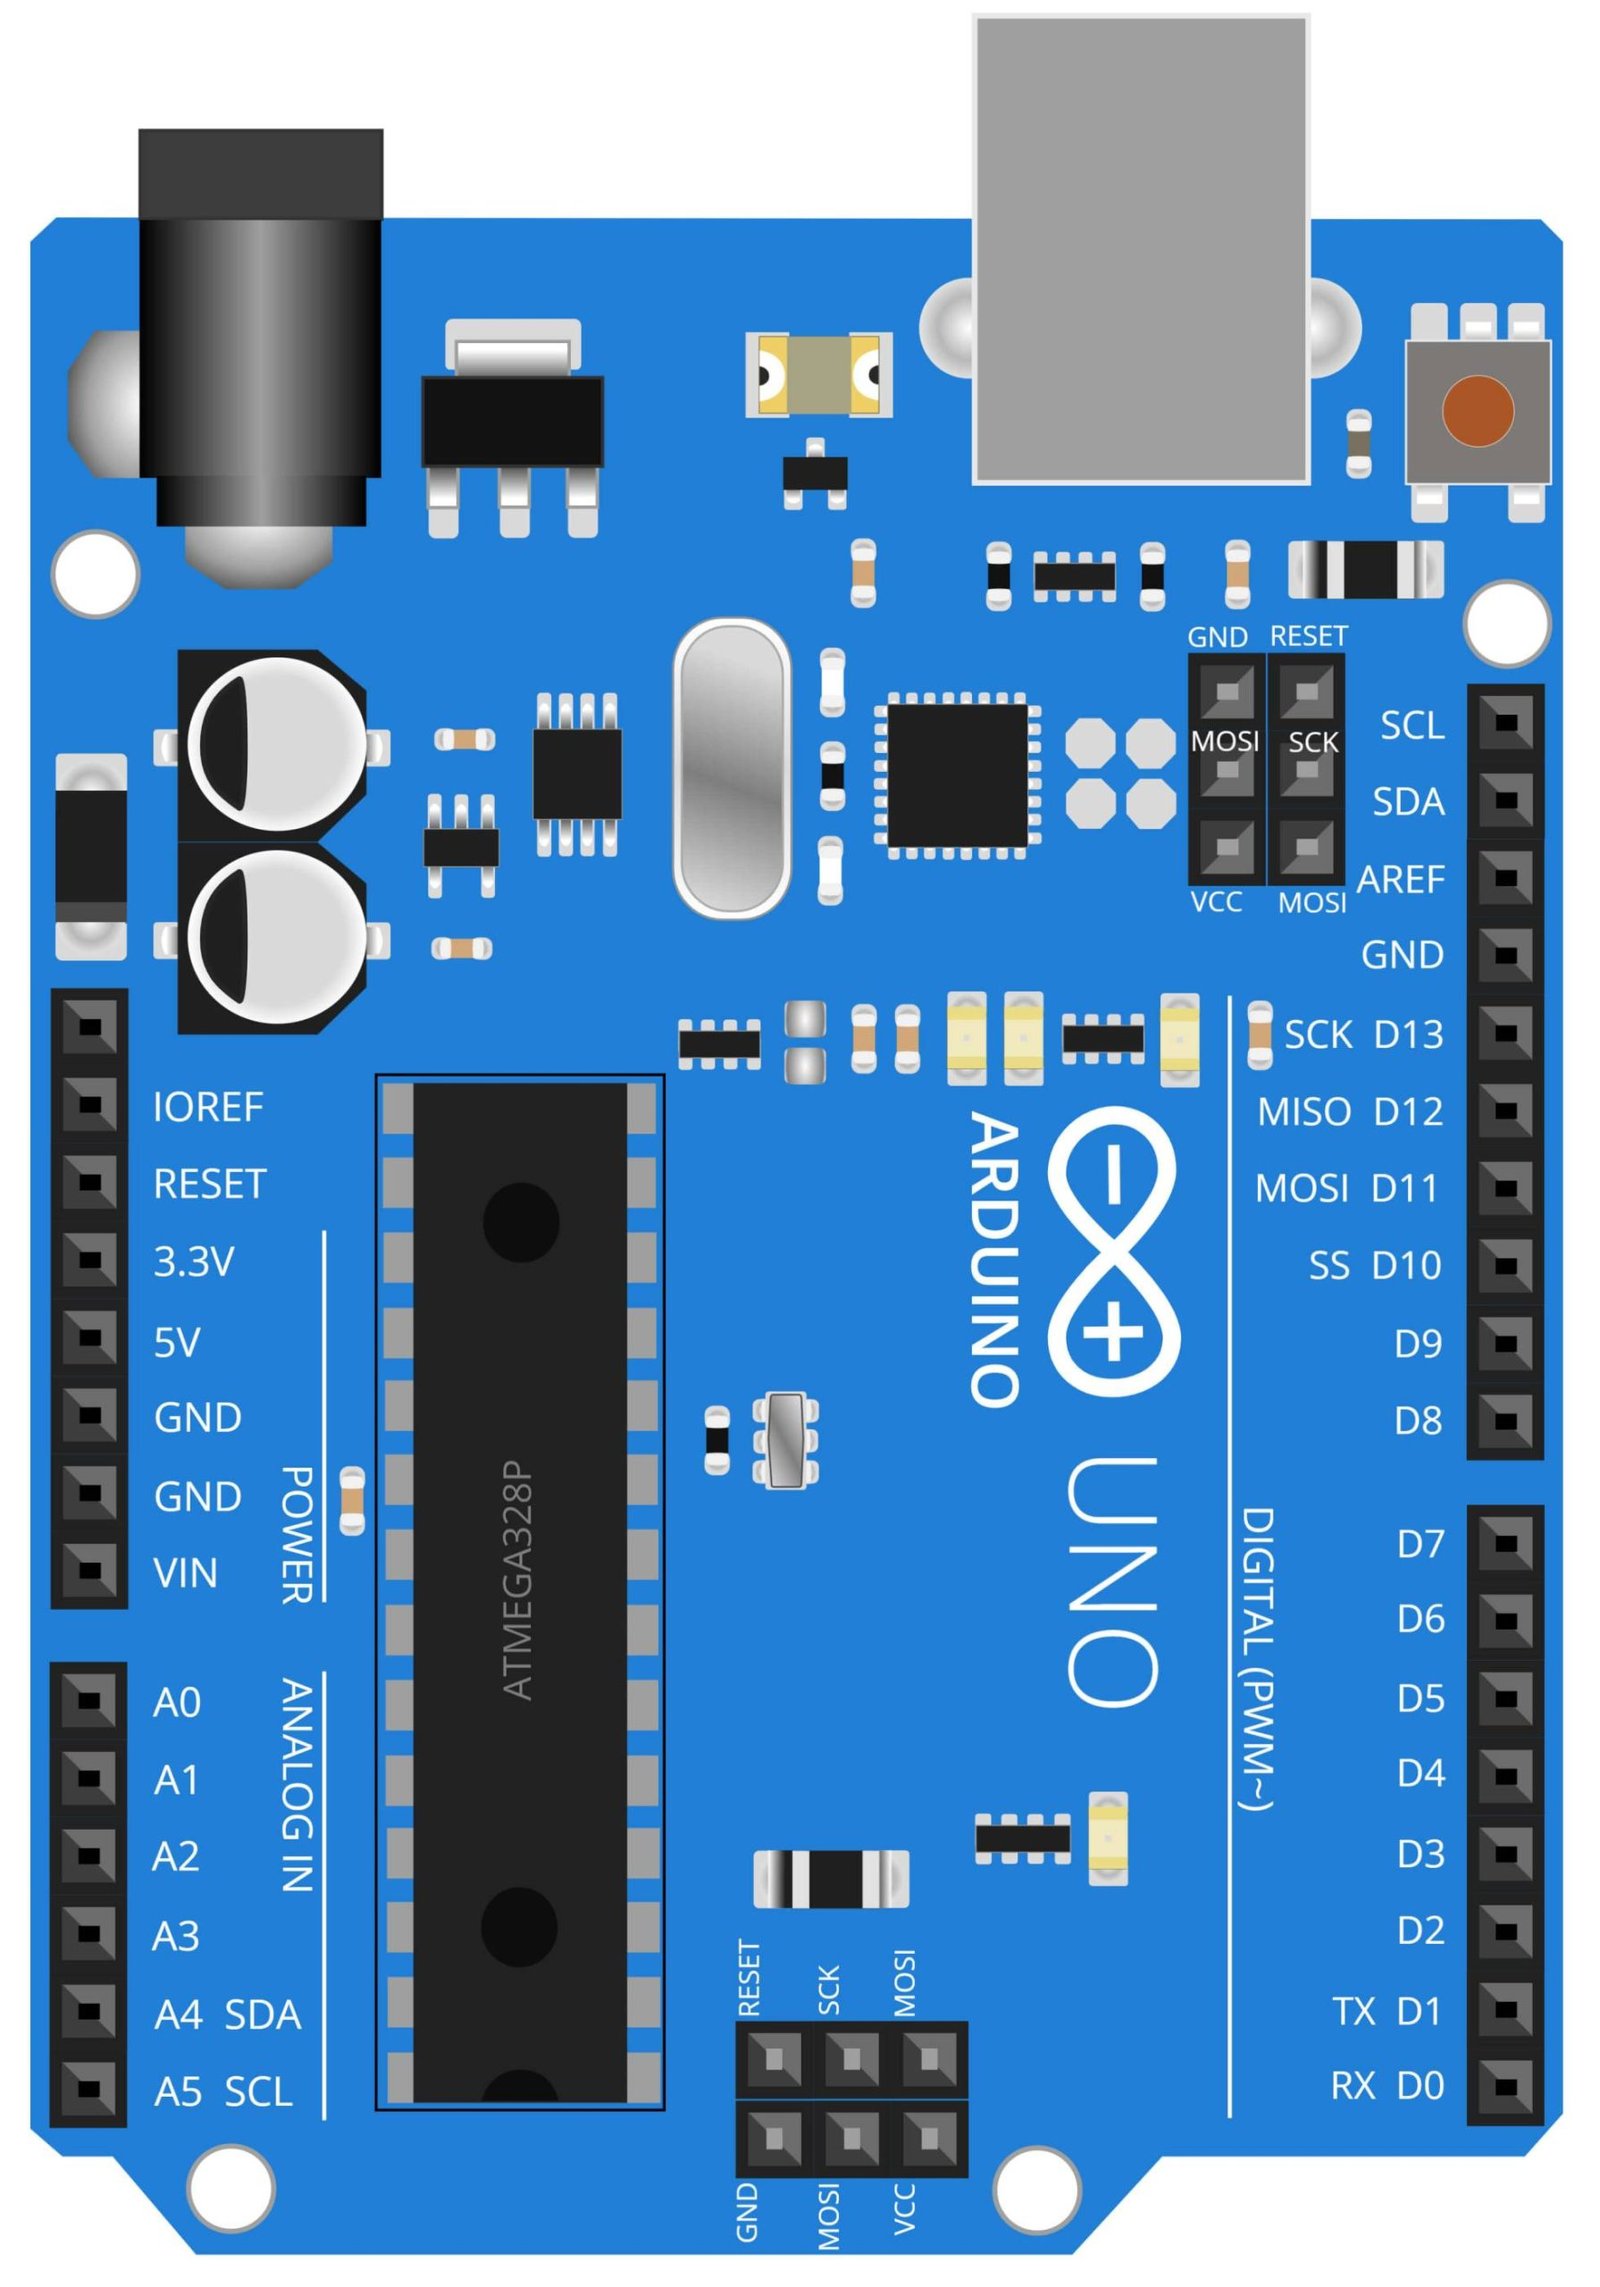
| 1 | Arduino UNO (Other Arduinos can be used too) | Arduino UNO Pinout Diagram⇗ | |
| 2 | 16×2 LCD Display | ||
| 3 | 10K Potentiometer | ||
| 4 | MQ2 Gas Sensor | MQ2 Gas Sensor Pinout Diagram⇗ | |
| 5 | Buzzer | ||
| 6 | Red LED | ||
| 7 | Green LED | ||
| 8 | 330 Ohm Resistor |
Arduino UNO
The Arduino UNO is a popular microcontroller board based on the ATmega328P microcontroller. It is designed to make it easy for hobbyists, students and professionals to build interactive electronic projects. It is open-source, which means that the hardware and software designs are freely available and can be modified by anyone.
In this project, the Arduino UNO plays a crucial role as the brain of the system. The Arduino UNO receives input from the MQ2 gas sensor, which detects smoke and other gases, and based on that input, it controls the red and green LEDs and the 16×2 LCD display.
The Arduino UNO also runs the program that continuously reads the gas sensor values and checks if the smoke level exceeds the threshold. If it does, the program sends a signal to the red LED to turn on, indicating a smoke alarm. The green LED will be turned on when the smoke level is normal. The 16×2 LCD Display will show the status of the smoke and the level of smoke in the air.
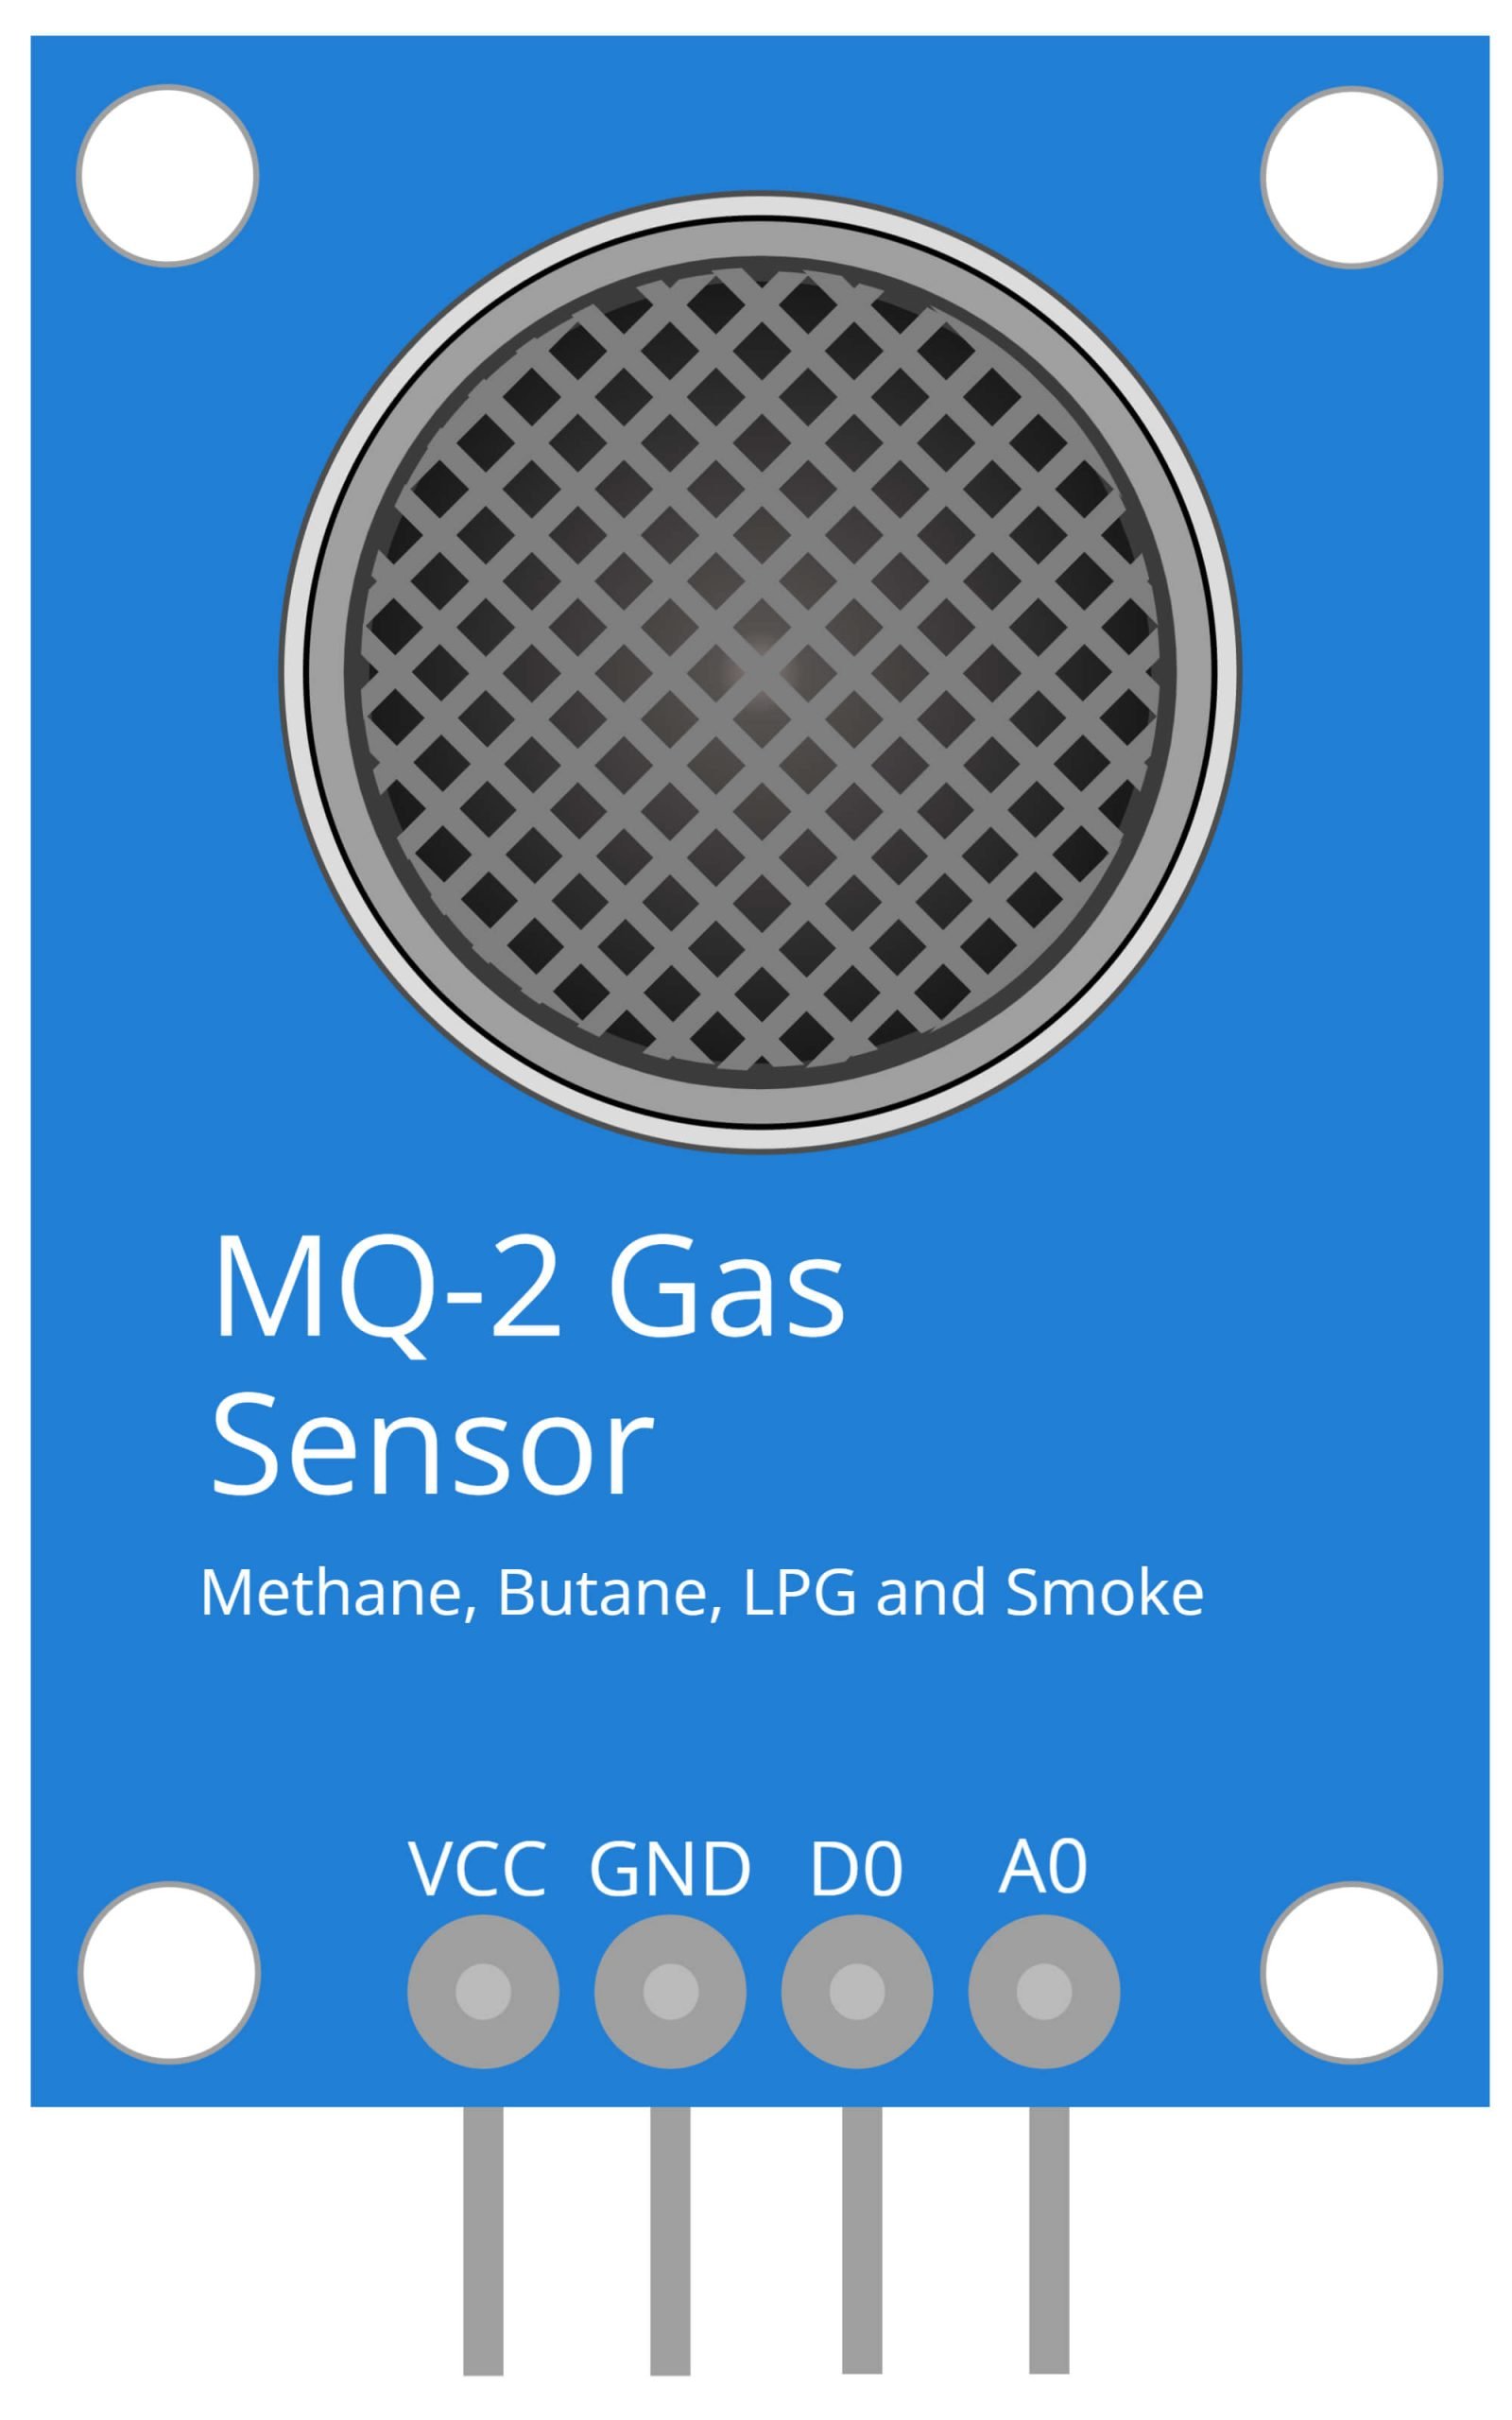
MQ2 Gas Sensor
The MQ2 gas sensor is a type of metal oxide semiconductor (MOS) sensor that is commonly used to detect the presence of various gases, including smoke. The sensor is able to detect a wide range of gases, including methane, propane, and hydrogen, and is sensitive to smoke.
The MQ2 sensor is connected to the Arduino UNO board, which reads the sensor’s output signal and uses it to determine the concentration of smoke in the air. The Arduino then triggers the red LED, green LED and 16×2 LCD display to give visual and audible indication of smoke level. The red LED will light up and buzzer will beep if the smoke level exceeds a certain threshold, indicating a potential fire hazard. This project is a great example of how the MQ2 sensor can be used in a practical application to improve safety and detect potential hazards in a home or work environment.

Red LED
The Red LED, or Light Emitting Diode, is a type of semiconductor device that emits light when an electric current is passed through it. It is a small, low-power device that is commonly used as an indicator light in a variety of electronic devices. They are available in various sizes and shapes, and typically have a longer lifespan compared to traditional incandescent bulbs.
In this project, the red LED is used as an indicator light to alert the user of the presence of smoke or potentially hazardous gases. The Arduino UNO microcontroller is programmed to detect the presence of smoke or gas using the MQ2 sensor, and if smoke or gas is detected, the red LED is turned on to indicate the presence of smoke or gas. This allows the user to quickly and easily identify the presence of a potentially hazardous situation, and take appropriate action. The red LED is also a visual indication of the device being active.

Green LED
A green LED is a type of light-emitting diode that emits green light when a current is applied to it. Green LEDs are widely used in a variety of applications such as indicator lights, traffic signals, and backlighting. They have a longer lifespan and lower power consumption compared to traditional incandescent bulbs.
In this project, the green LED is used as an indicator to show that the system is working normally and no smoke has been detected. When the MQ2 gas sensor detects smoke, the green LED will turn off and the red LED will turn on, indicating that there is a smoke detected and alerting the user to take necessary precautions. The use of green LED in this project adds an visual indication of the system’s status, making it more user-friendly and easier to understand.
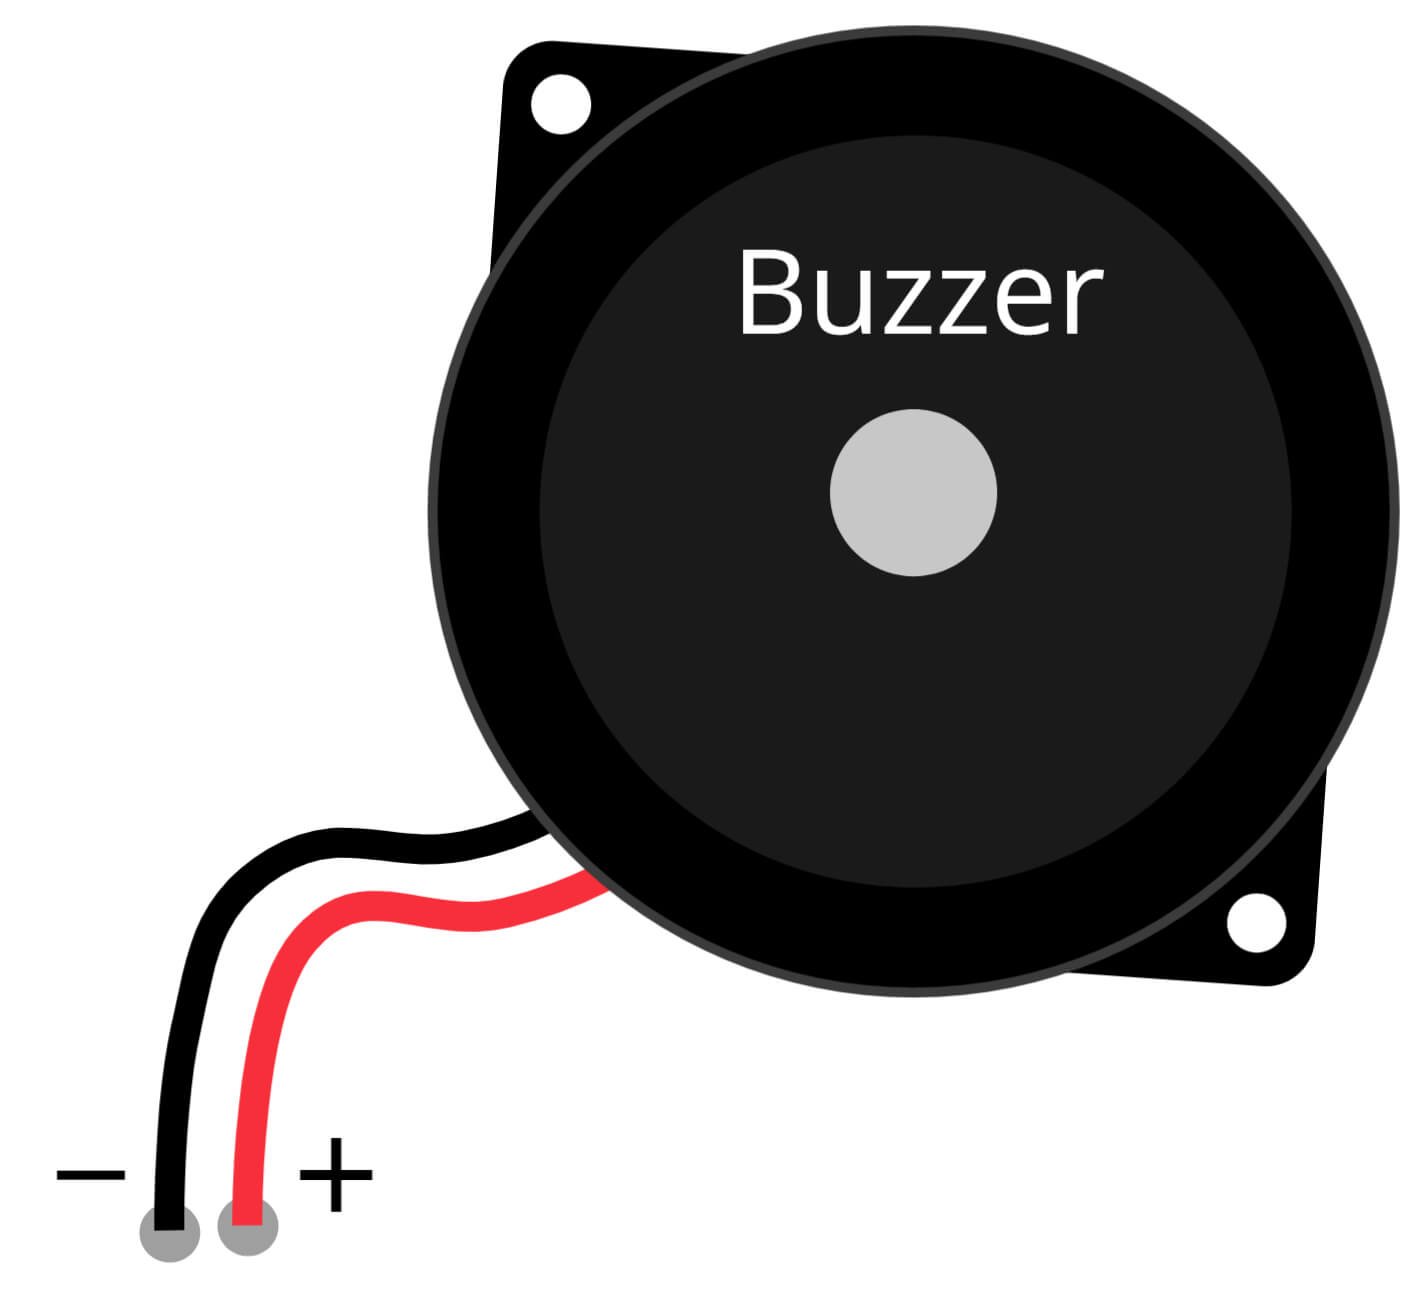
Buzzer
A buzzer is a simple electronic device that generates sound through an oscillating current. They come in different shapes, sizes, and types, including piezoelectric, magnetic, and electromagnetic. The buzzer used in the “Smoke Detector using Arduino UNO, MQ2 Gas Sensor Red LED, Green LED and 16×2 LCD Display” project is likely a piezoelectric buzzer, which uses the piezoelectric effect to create sound.
In this project, the buzzer is used as an alarm that sounds when the MQ2 gas sensor detects smoke. The Arduino UNO microcontroller is programmed to read the output of the MQ2 sensor and trigger the buzzer to sound an alarm if the sensor detects smoke. The use of the buzzer in this project helps to alert the user to a potentially dangerous situation and can help prevent fires. It is a vital component of the smoke detector project and helps in providing the user with an audible warning of the smoke.

330 Ohm Resistor
A resistor is a passive electronic component that is used to limit the flow of electrical current in a circuit. The 330 Ohm resistor is a commonly used value in electronic projects and is used to limit the current flowing through a circuit.
In this project, the 330 Ohm resistor is used to limit the current flowing through the LEDs. This helps to protect the LEDs from damage and ensures that they function properly within the circuit. Additionally, the resistor is used to control the brightness of the LEDs, allowing the user to adjust the intensity of the light emitted by the LEDs. This is important for the smoke detector project as it ensures that the LEDs are clearly visible and easily readable in any lighting conditions. So it plays an important role in the project.
Steps and Info:
1. Get correct components as given. You can buy online or offline. I buy electronics components mostly from Amazon.
2. Start connecting the components. If you are new to connecting components in an electronic circuit, then use a Breadboard or you can straight up make connections using Jumper wires but it will create problem when there will be two or more connections needed at one pin (for example two or more different sensors 5V connection to Arduino’s 5V pin). But before soldering components on a PCB or printing a PCB for your circuit, better try using breadboard so that any errors and mistakes can be observed on breadboard and not after soldering. Or do connections in your way.
3. Now after building the circuit, download the Arduino IDE from https://www.arduino.cc/ website.
4. If you are new to Arduino IDE software, then watch this video we made specially for beginners about Arduino IDE.
5. If you know Arduino IDE then straight up copy the code we given and paste it into the Arduino IDE sketch.
6. Connect the Arduino to your Computer/device. Select a proper port, proper Arduino type and whatever other settings are. Here it is Arduino UNO. (If you don’t know what this all is then watch our video: ).
7. Compile the code and Upload it.
8. If any error occurs then try to troubleshoot it by finding/copy-pasting it into our Solve Errors page https://electronicsprojects.in/solve-errors/, or you can straight up paste the error on Internet and you know the rest. Also check if there are no spelling/syntax errors in the code. Compile the code again once to check if errors are fixed. I have given proper connections and code but still nothing is perfect.
9. Once code compiles and uploads smoothly, you can start testing the working of your circuit/project.
10. Now take any smoke near the MQ2 Gas sensor. When the sensor detects the smoke, the LED will glow, Buzzer will make sound and an alert message will be displayed on the 16×2 LCD display.
11. If it doesn’t work, then check connections and code. Also you can talk with me and the community through discord. All the links to social is given at the right side of this page.
Program Code:
/* https://www.electronicsprojects.in Smoke Detector using Arduino, MQ2 Gas Sensor and 16x2 LCD Display */

#include <LiquidCrystal.h>
LiquidCrystal lcd(7, 6, 5, 4, 3, 2);
int RLED = 13;
int GLED = 12;
int BUZ = 11;
int MQ2Pin = A5;
int MQ2Threshold = 100;
void setup() {
  pinMode(RLED, OUTPUT);
  pinMode(BUZ, OUTPUT);
  pinMode(MQ2Pin, INPUT);
  Serial.begin(9600);
  lcd.begin(16,2);
}
void loop() {
  int MQ2Sensor = analogRead(MQ2Pin);

  Serial.print("Pin A0: ");
  Serial.println(MQ2Sensor);
  lcd.print("Smoke:");
  lcd.print(MQ2Sensor-50);
  // Checks if it has reached the threshold value
  if (MQ2Sensor-50 > MQ2Threshold)
  {
    digitalWrite(RLED, HIGH);
    lcd.setCursor(0, 2);
    lcd.print("Alert....!!!");
    digitalWrite(12, LOW);
    tone(BUZ, 1000, 200);
  }
  else
  {
    digitalWrite(RLED, LOW);
    digitalWrite(12, HIGH);
    lcd.setCursor(0, 2);
    lcd.print(".....Normal.....");
    noTone(BUZ);
  }
  delay(500);
  lcd.clear();
}