Description:
In this project, we are building a vibration detector using Arduino. Here we have used SW420 Vibration Sensor which detects any vibrations caused by anything. As vibrations are detected the LED glows. Everything is controlled using Arduino Nano.
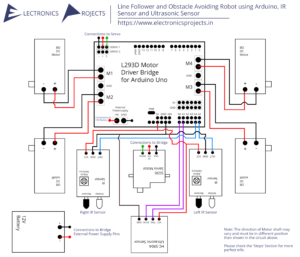
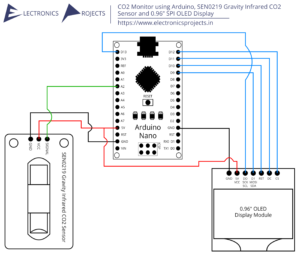
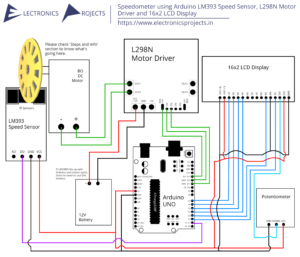
Circuit Diagram:

Components:
| SR. NO. | COMPONENT | PINOUT DIAGRAM | BUY |
|---|---|---|---|
| 1 | Arduino Nano (Other Arduinos can be used too) | ||
| 2 | SW420 Vibration Sensor | ||
| 3 | LED |
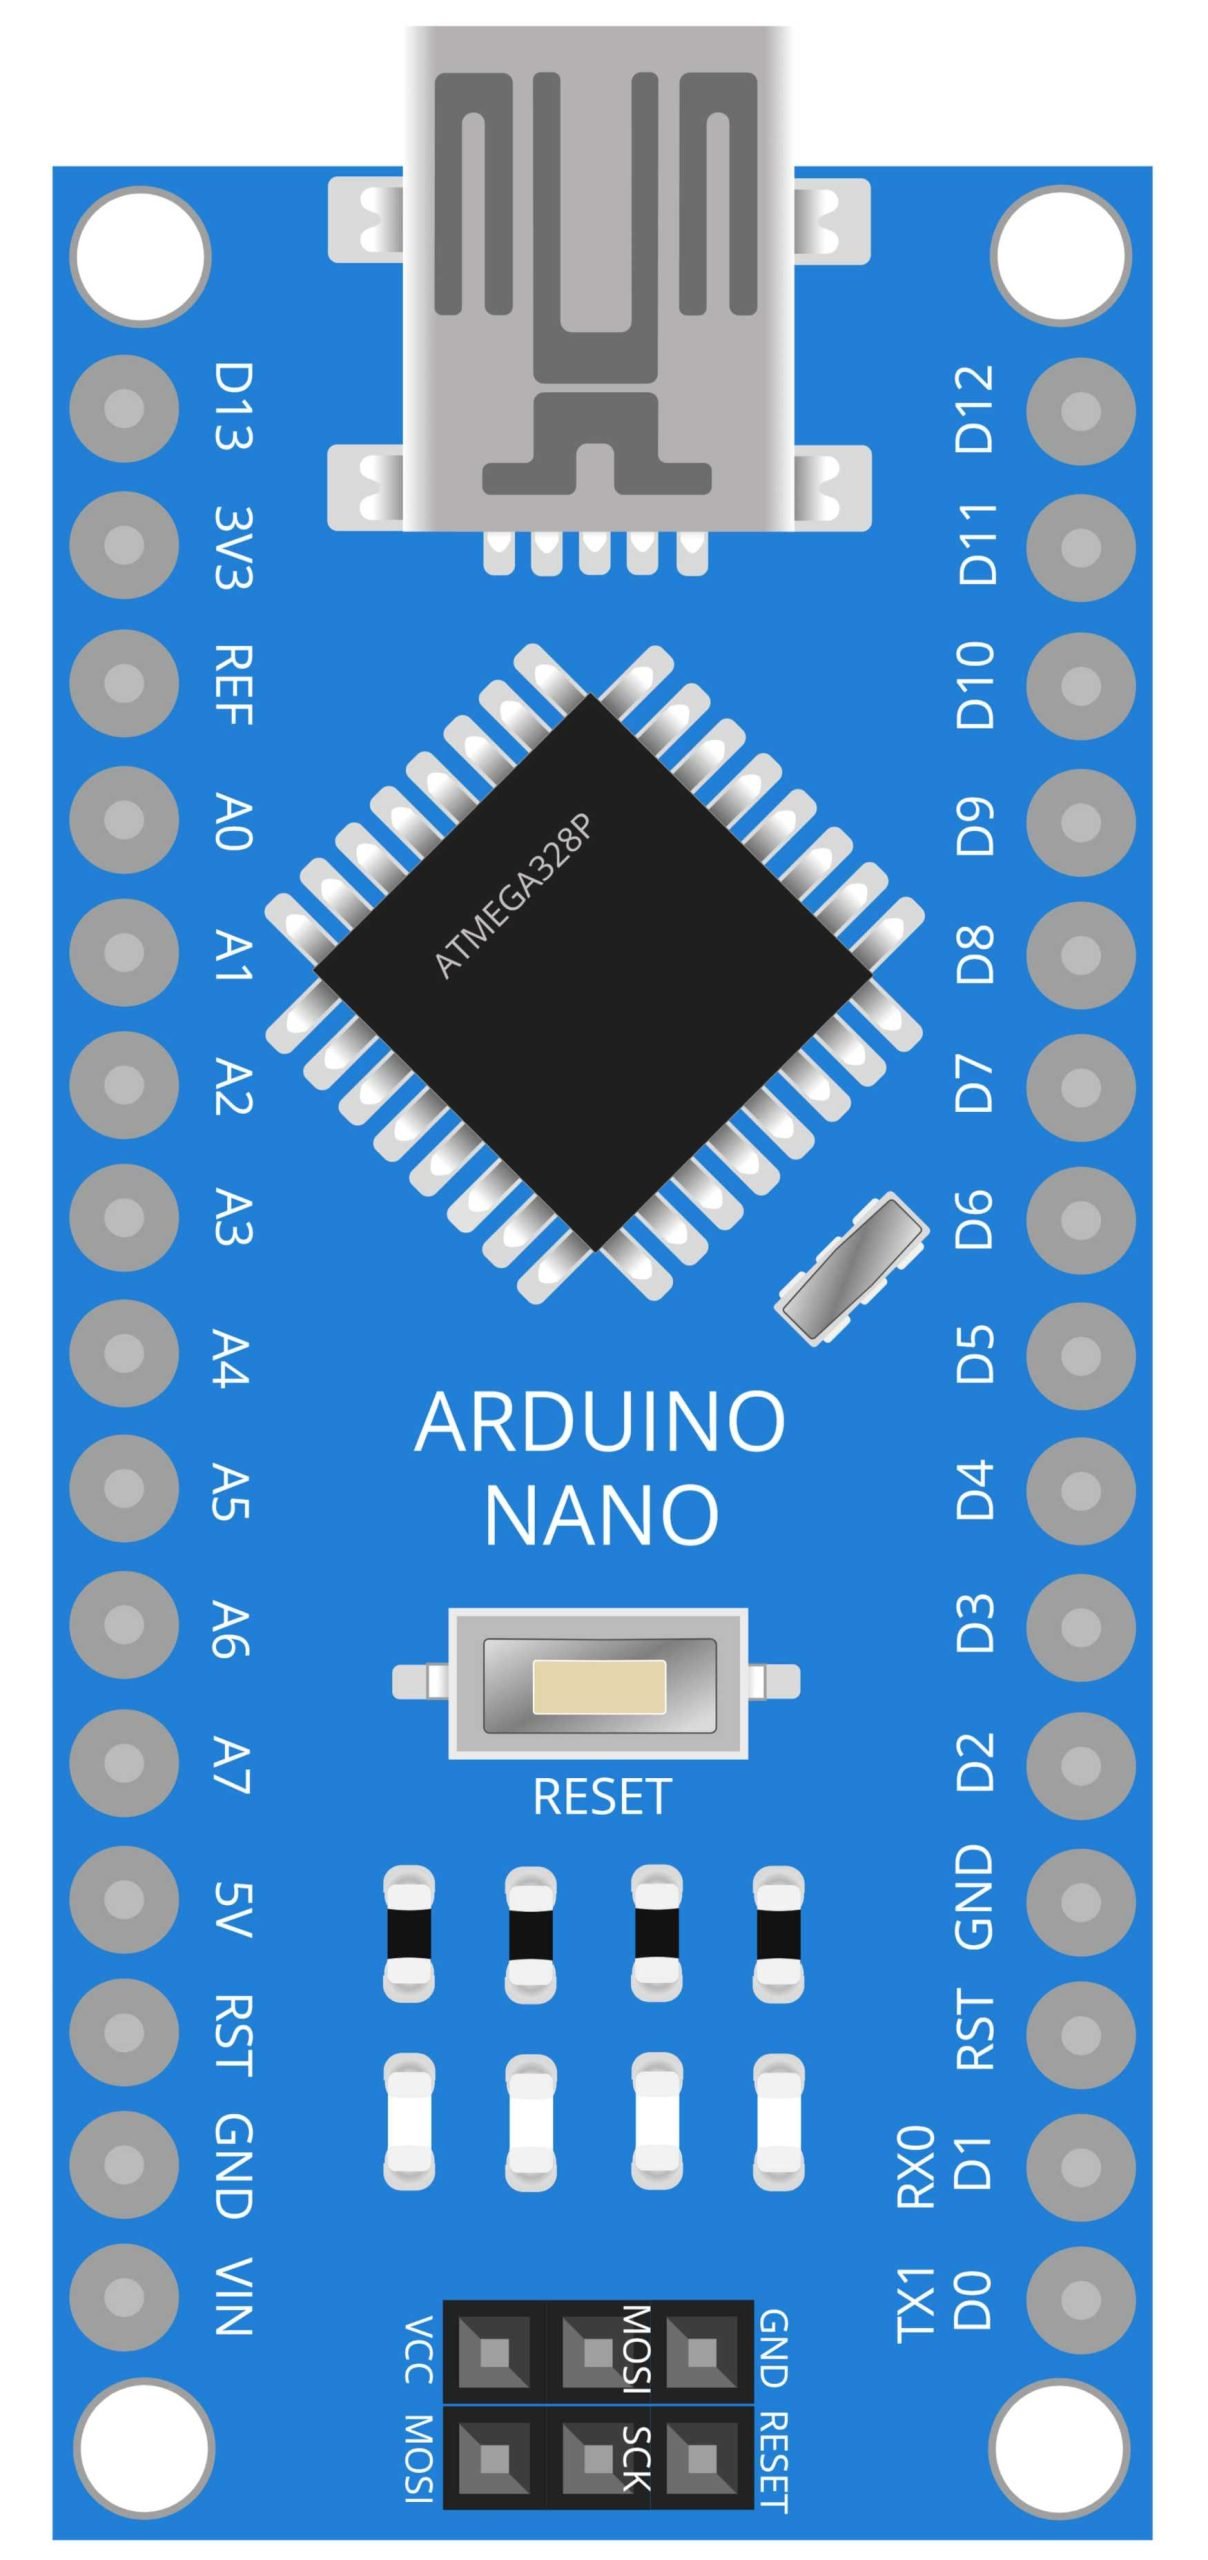
Arduino Nano
The Arduino Nano is a small, compact microcontroller board that is ideal for projects that require a low footprint and minimal power consumption. In the context of a vibration detector, the Arduino Nano is used to process the signals received from the SW420 vibration sensor and trigger an alarm in the form of an LED. The Arduino Nano can be programmed to detect specific vibration patterns and trigger an alarm only when necessary, making it a useful tool for monitoring vibrations in industrial equipment, structures, and vehicles. The Arduino Nano also features a variety of input/output pins, making it easy to interface with other sensors and actuators, such as an LED, allowing for the creation of a complete vibration monitoring system.

SW-420 Vibration Sensor
The SW420 Vibration Sensor is a small, low-cost device that is used to detect vibrations and movements in a wide range of applications, including industrial equipment, structures, and vehicles. The sensor works by measuring changes in resistance caused by vibrations, it consists of a spring-connected mass that moves when exposed to vibrations, this movement changes the resistance of the sensor. The SW420 is a digital output sensor, it sends a signal to the Arduino Nano when a vibration is detected, and the Arduino Nano then processes the signal and triggers an alarm in the form of an LED. The sensor is highly sensitive and can detect even small vibrations, making it an ideal solution for monitoring equipment and structures for potential problems. Additionally, SW420 is also resistant to vibration, shock and humidity, making it a durable and reliable sensing option for vibration detection.
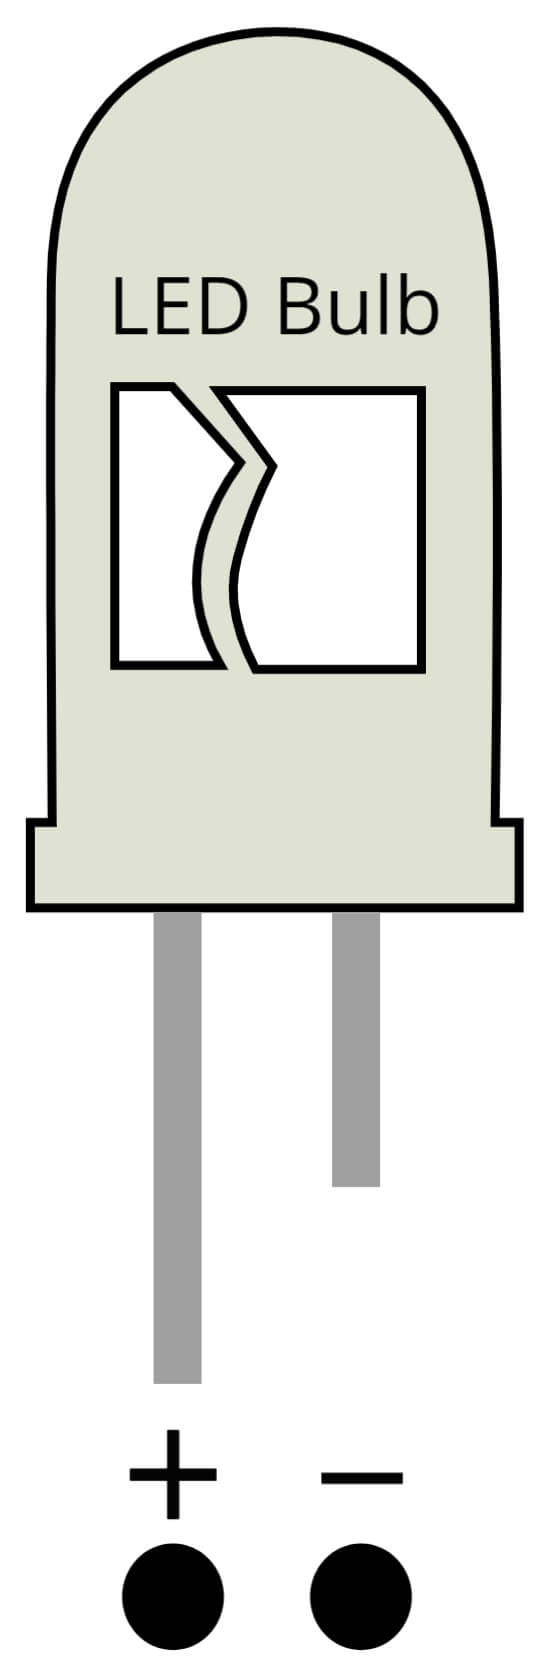
LED
LED, or Light Emitting Diode, is a small electronic device that emits light when an electric current is passed through it. In the context of the Vibration Detector project, it is used as an indicator light to show the status of the detector. The LED is connected to the Arduino Nano and it receives a signal from the SW420 vibration sensor, when the sensor detects a vibration, it sends a signal to the Arduino Nano which then triggers the LED to light up as an indication of a vibration. The LED provides a visual indication of a vibration, making it easy for the user to identify the presence of vibration even in low light conditions. Additionally, LED’s are available in different colors, the most common being red and green, this allows the user to easily distinguish the status of the detector. LED’s are also low power consumption and have a long lifespan, which makes them a suitable option for vibration detection systems.
Steps and Info:
1. Get correct components as given. You can buy online or offline. I buy electronics components mostly from Amazon.
2. Start connecting the components. If you are new to connecting components in an electronic circuit, then use a Breadboard or you can straight up make connections using Jumper wires but it will create problem when there will be two or more connections needed at one pin(for example two or more different sensors 5V connection to Arduino’s 5V pin). But before soldering components on a PCB or printing a PCB for your circuit, better try using breadboard so that any errors and mistakes can be observed on breadboard and not after soldering. Or do connections in your way.
3. Now after building the circuit, download the Arduino IDE from https://www.arduino.cc/ website.
4. If you are new to Arduino IDE software, then watch this video we made specially for beginners about Arduino IDE.
5. If you know Arduino IDE then straight up copy the code we given and paste it into the Arduino IDE sketch.
6. Connect the Arduino to your Computer/device. Select a proper port, proper Arduino type and whatever other settings are. Here it is Arduino Nano. (If you don’t know what this all is then watch our video: ).
7. Compile the code and Upload it.
8. If any error occurs then try to troubleshoot it by finding/copy-pasting it into our Solve Errors page https://electronicsprojects.in/solve-errors/, or you can straight up paste the error on Internet and you know the rest. Also check if there are no spelling/syntax errors in the code. Compile the code again once to check if errors are fixed. I have given proper connections and code but still nothing is perfect.
9. Once code compiles and uploads smoothly, you can start testing the working of your circuit/project.
10. For this project, hold your vibration sensor and start shaking it slowly, check if the LED lights up. If it does then yay! If not then try to find if any connection is loose or mistake in code or maybe something else. And try again till it works.
Program Code:
/* www.electronicsprojects.in Vibration Detector using Arduino, SW420 Vibration Sensor and LED */

#include <Arduino.h>
#include <stdio.h>
#define ON 1
#define OFF 0
int vibration_Sensor = A4;
int LED = 4;
int present_condition = 0;
int previous_condition = 0;
void setup() {
pinMode(vibration_Sensor, INPUT);
pinMode(LED, OUTPUT);
}
void led_blink(void);
void loop() {
previous_condition = present_condition;
present_condition = digitalRead(A5);
if (previous_condition != present_condition) {
led_blink();
} else {
digitalWrite(LED, OFF);
}
}
void led_blink(void) {
digitalWrite(LED, ON);
delay(250);
digitalWrite(LED, OFF);
delay(250);
digitalWrite(LED, ON);
delay(250);
digitalWrite(LED, OFF);
delay(250);
}