Description:
This is a a location tracker using Arduino which sends its exact location to specific phone number. Here NEO 6M GPS Module is used to get location in latitude and longitude. SIM900A GSM Module with a SIM Cards is used to send the location SMS to the desired phone number/phone number which is added in the program code. Everything is controlled using Arduino UNO, other Arduinos can be used as well.
Circuit Diagram:
Components:
| SR. NO. | COMPONENT | PINOUT DIAGRAM | BUY |
|---|---|---|---|
| 1 | Arduino UNO (Other Arduinos can be used too) | Arduino UNO Pinout Diagram⇗ | |
| 2 | NEO 6M GPS Module | ||
| 3 | SIM900A GSM Module | ||
| 4 | SIM Card with an active SMS Pack | ||
| 5 | 10K Ohm Resistor | ||
| 6 | Push Button x 1 |
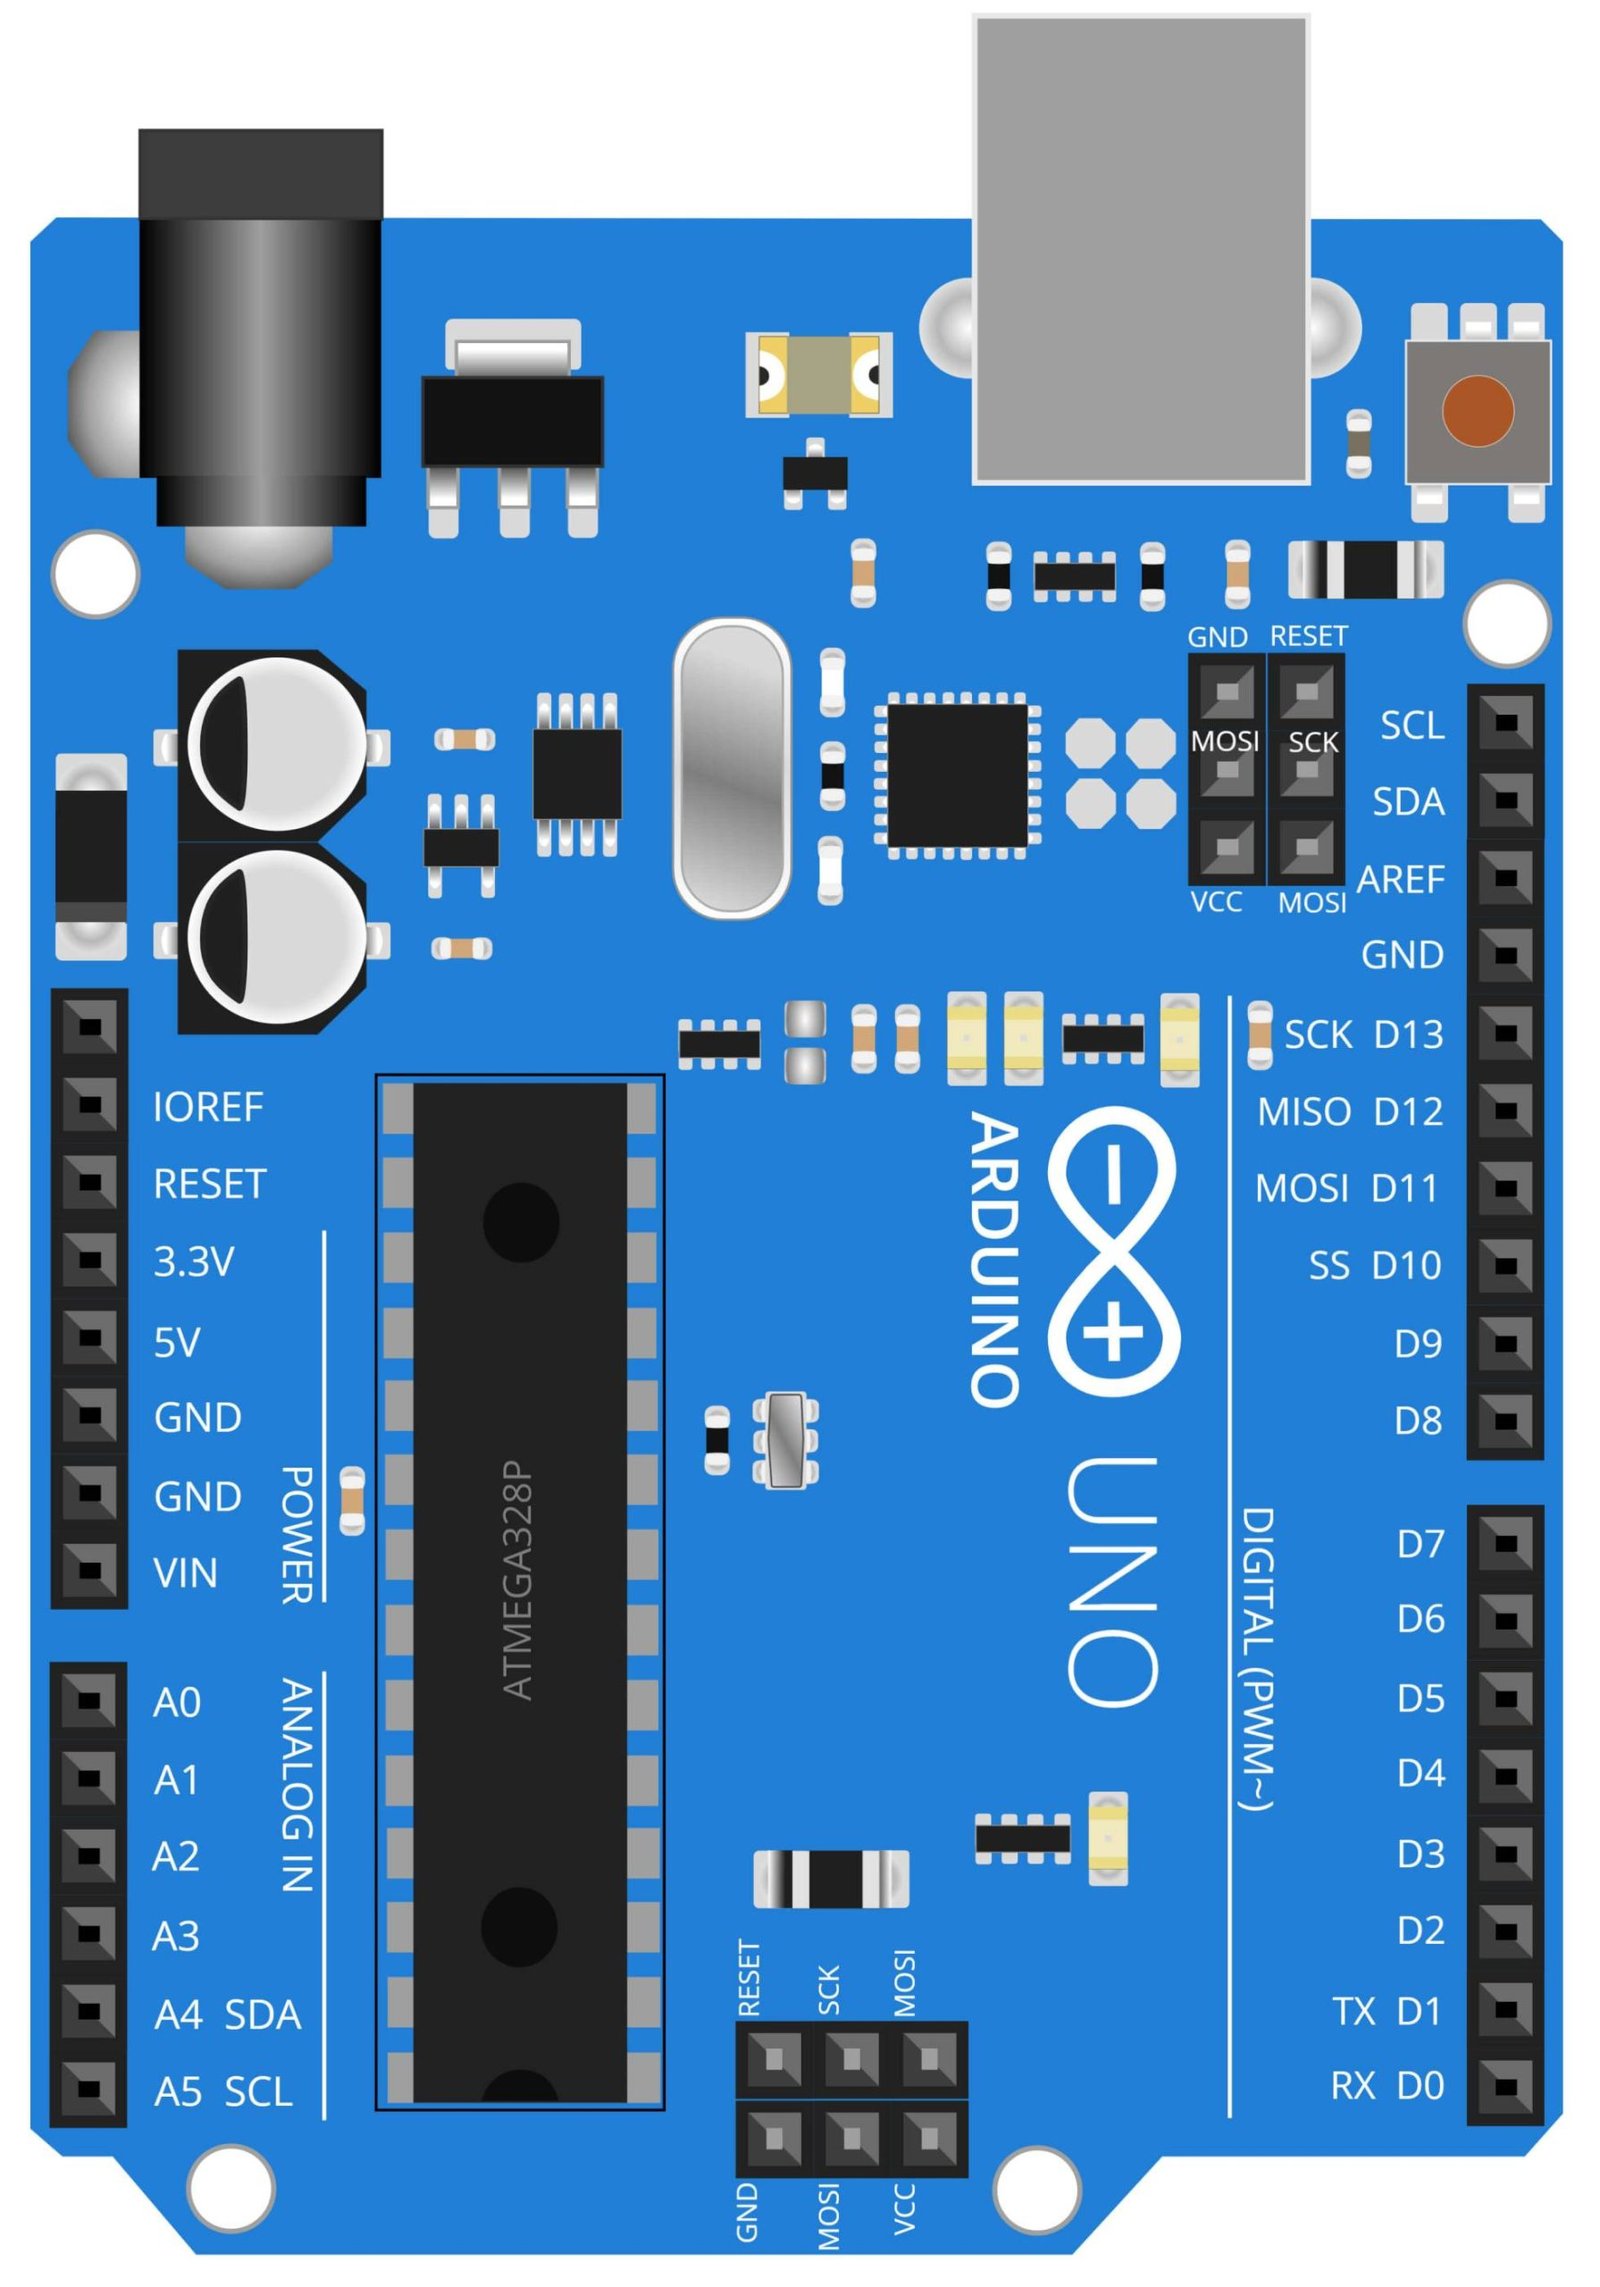
Arduino UNO
The Arduino UNO is a microcontroller board based on the ATmega328P. It has 14 digital input/output pins, 6 analog inputs, a 16 MHz quartz crystal, a USB connection, a power jack, an ICSP header, and a reset button. One of the many projects that can be created using the Arduino UNO is a location tracker. By combining the Arduino UNO with the NEO 6M GPS module and SIM900A GSM module, it is possible to build a device that can track the location of vehicles, people, or assets.
In this project, the Arduino UNO acts as the brain of the location tracker. It receives the data from the NEO 6M GPS module, which uses satellites to determine the device’s current location, and then sends that information to the SIM900A GSM module, which is responsible for transmitting the location data to a designated phone number or server. The Arduino UNO also allows users to program and customize the device to suit their specific needs, such as adjusting the frequency of location updates or adding additional functionality.
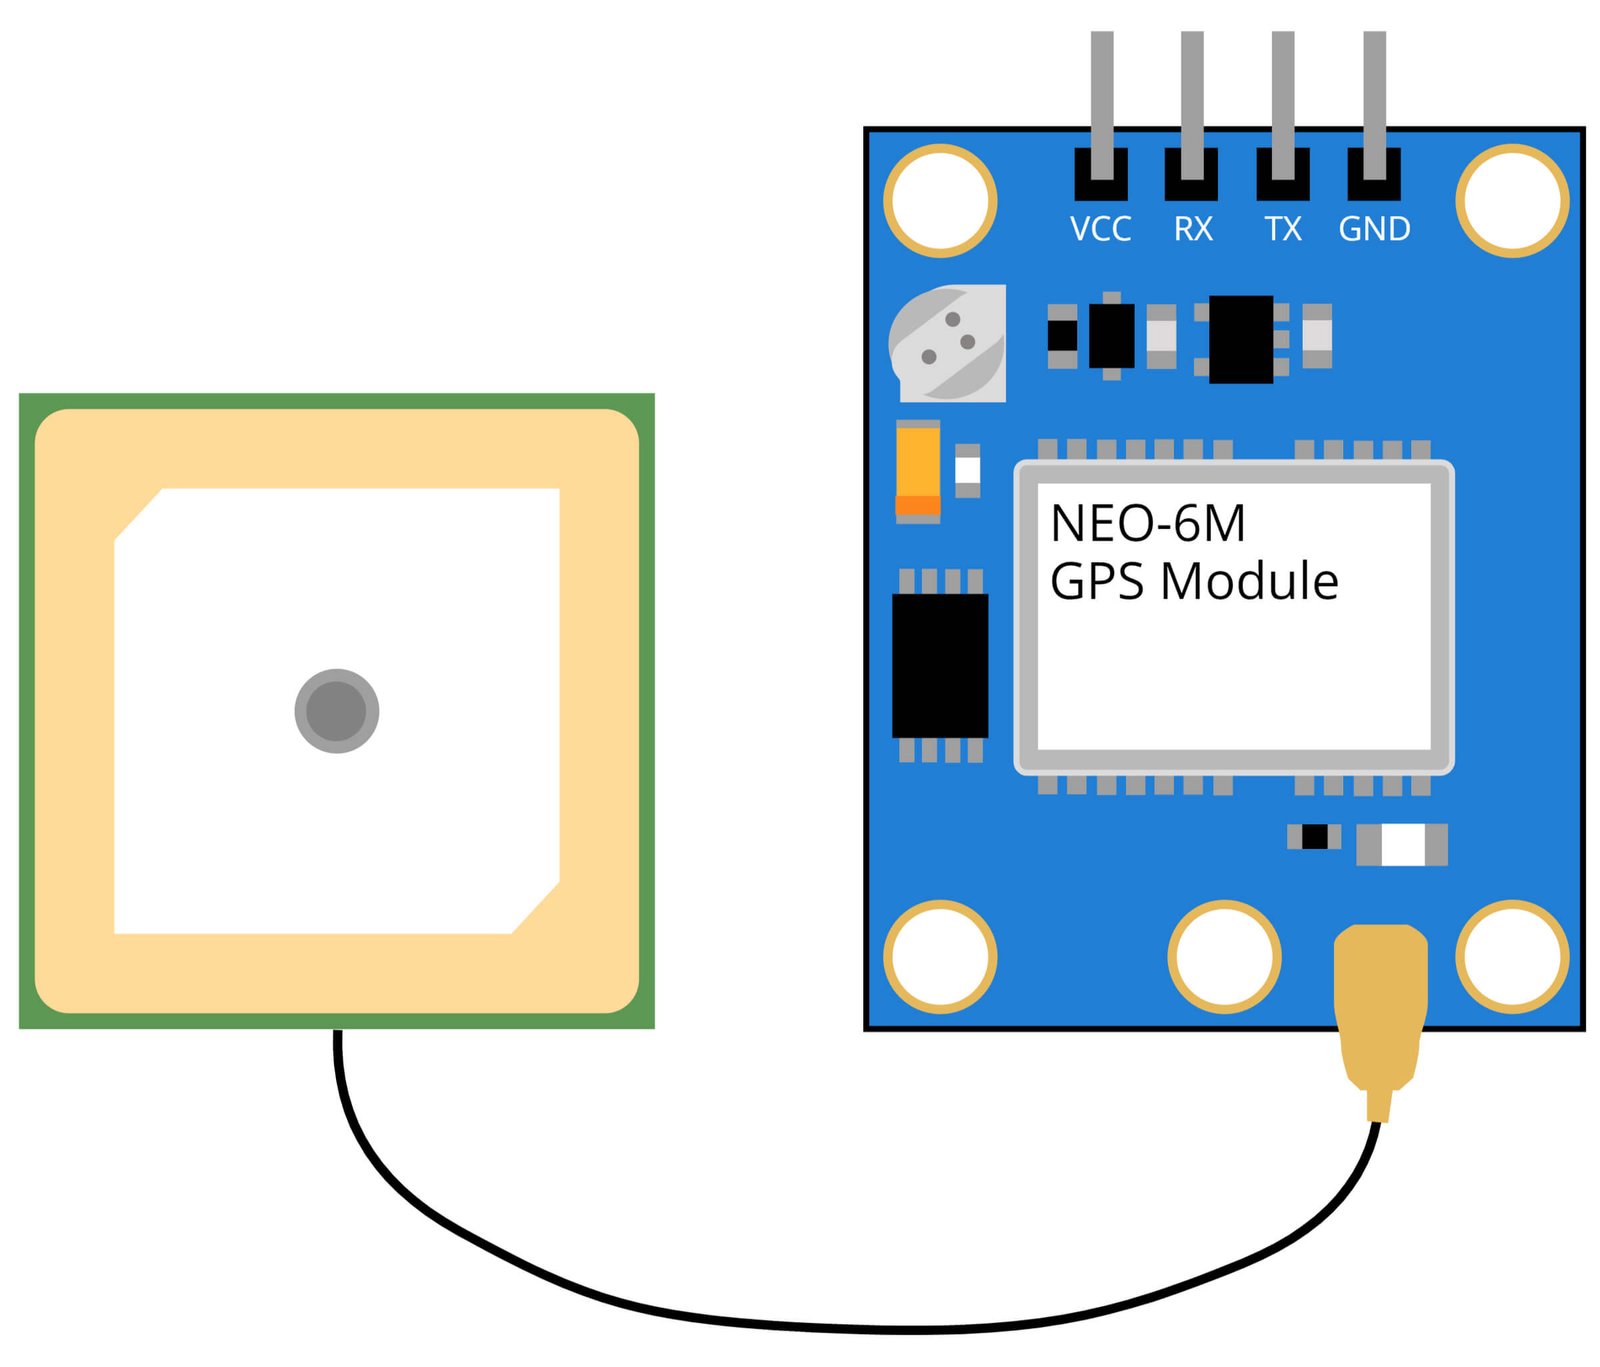
NEO-6M GPS Module
The NEO-M8N GPS module is a high-performance device that can be used to track the location of an object or person. It is commonly used in projects that require real-time location tracking, such as in drones, vehicles, or personal tracking devices. In this project, the NEO-M8N GPS module is used to determine the current location of the device and send that information via the SIM900A GSM module to a specified phone number. This allows the user to track the device’s location in real-time. The NEO-M8N GPS module is high-performance module with high sensitivity and fast Time to First Fix (TTFF) and it supports GPS, GLONASS, Galileo, QZSS and SBAS. It also supports up to 72 channels and it has a built-in antenna.
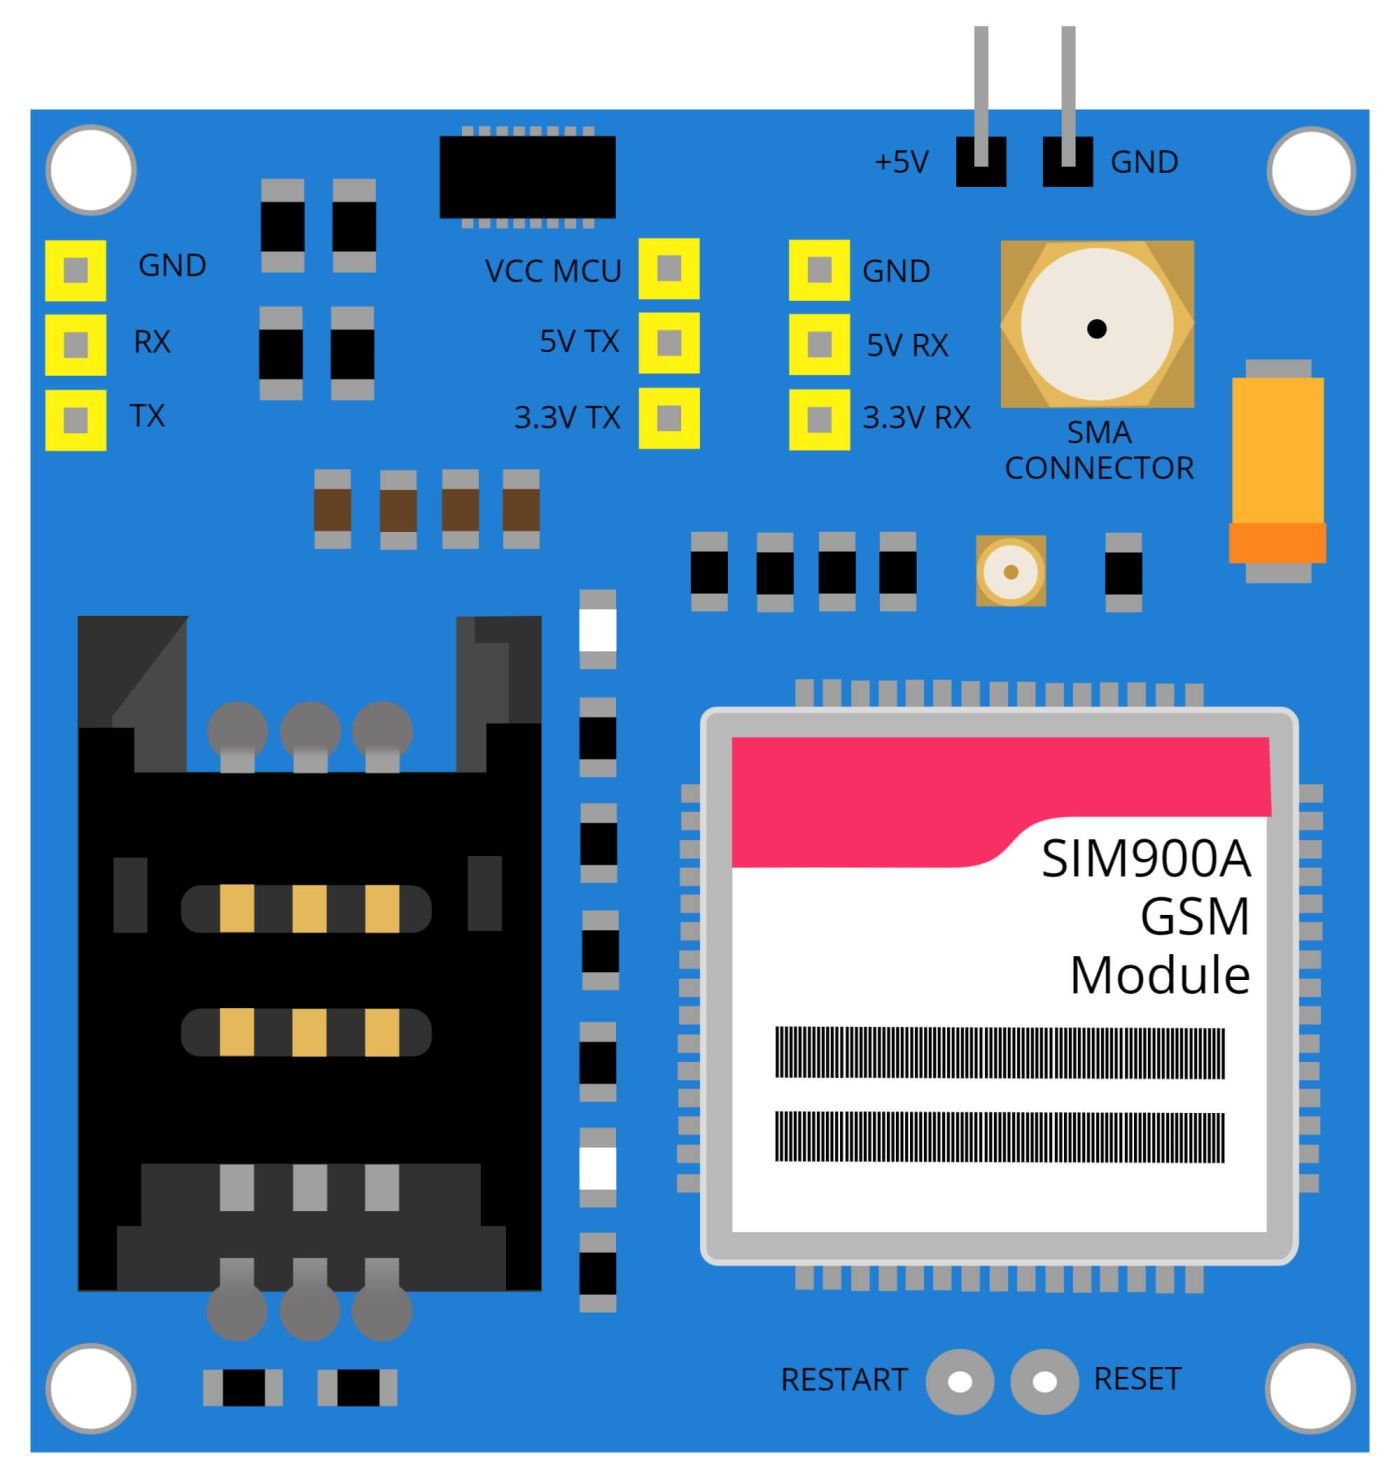
SIM900A GSM Module
The SIM900A GSM module is a small, low-cost device that can be used to connect a device to a cellular network, allowing it to send and receive data via text messages (SMS) or GPRS (General Packet Radio Service). In this project, the SIM900A GSM module is used to send the location information determined by the NEO 6M GPS module to a specified phone number. The location information is sent via a text message or GPRS, depending on the user’s preferences. This allows the user to track the device’s location in real-time without the need for a separate internet connection.
The SIM900A GSM module is a widely used module in the DIY and commercial projects, it is easy to use and has a wide range of capabilities. The module supports Quad-band 850/900/1800/1900 MHz, it can be used in any country with a compatible network. The module also supports GPRS multi-slot class 12/class 10(optional) and it has a built-in TCP/IP stack that allows the module to connect to the internet.
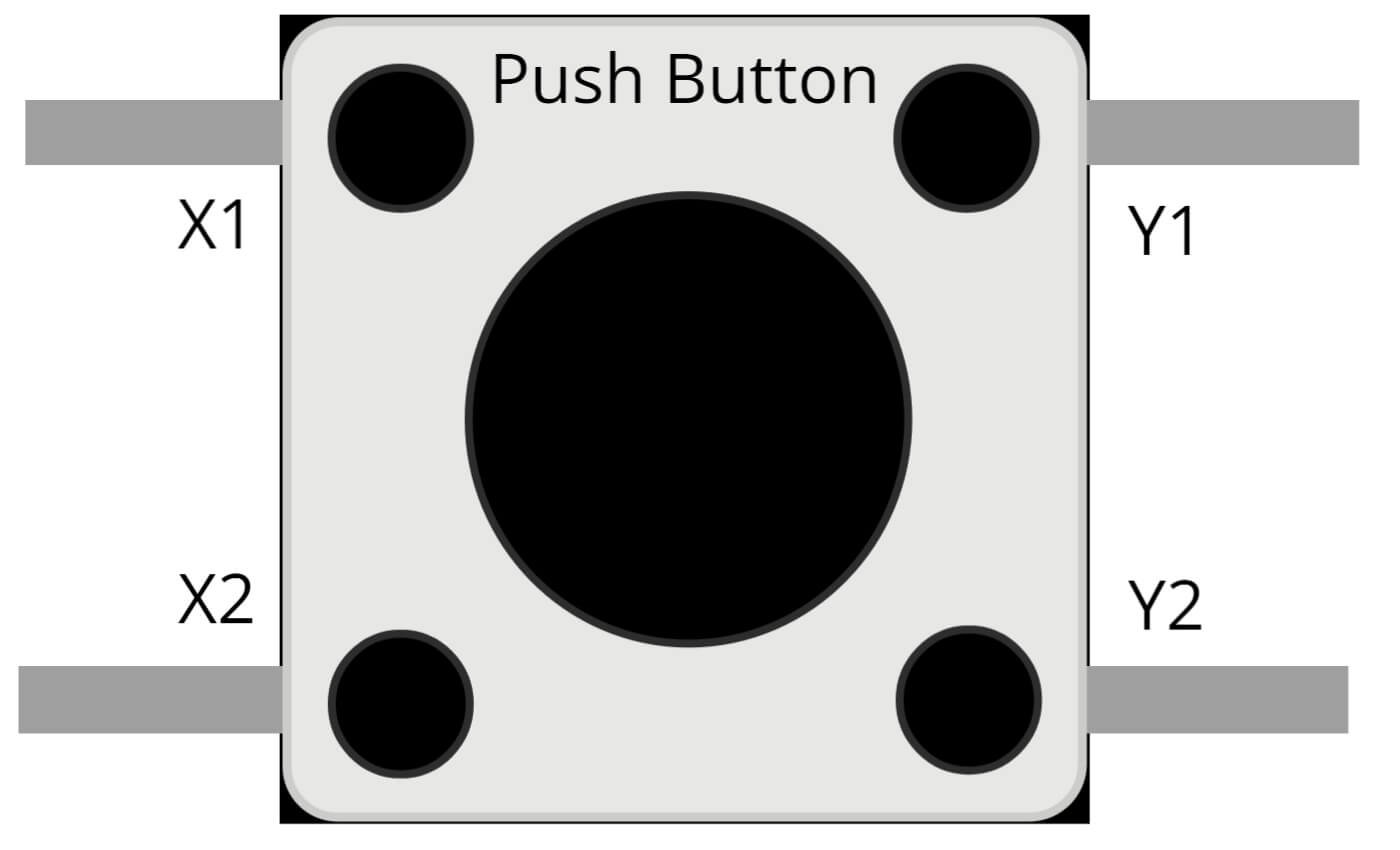
Push Button
A push button, also known as a momentary switch, is a type of switch that is activated when the button is physically pressed. In this project, the push button is used as a trigger to initiate the location tracking process. When the button is pressed, the Arduino UNO sends a signal to the NEO 6M GPS module to begin determining the device’s location. The location information is then sent via the SIM900A GSM module to a specified phone number. This allows the user to easily initiate the tracking process without the need for additional software or input methods.
Push buttons are easy to use and have a simple circuit, so it can be easily integrated into the project. They are also typically low cost, making them a popular choice for a wide range of DIY and commercial projects. In addition, it can be used as an emergency button for example in case of an accident, the person can press the button to send an emergency signal to the specified number. Overall, the push button is a versatile and useful component that can be used to add functionality and convenience to location tracking projects.
Steps and Info:
1. Get correct components as given. You can buy online or offline. I buy electronics components mostly from Amazon.
2. Start connecting the components. If you are new to connecting components in an electronic circuit, then use a Breadboard or you can straight up make connections using Jumper wires but it will create problem when there will be two or more connections needed at one pin (for example two or more different sensors 5V connection to Arduino’s 5V pin). But before soldering components on a PCB or printing a PCB for your circuit, better try using breadboard so that any errors and mistakes can be observed on breadboard and not after soldering. Or do connections in your way.
3. Now after building the circuit, download the Arduino IDE from https://www.arduino.cc/ website.
4. If you are new to Arduino IDE software, then watch this video we made specially for beginners about Arduino IDE.
5. If you know Arduino IDE then straight up copy the code we given and paste it into the Arduino IDE sketch. Also add your country code and phone number in the code to which you will be sending the SMS.
6. Connect the Arduino to your Computer/device. Select a proper port, proper Arduino type and whatever other settings are. Here it is Arduino UNO. (If you don’t know what this all is then watch our video: ).
7. Compile the code and Upload it.
8. If any error occurs then try to troubleshoot it by finding/copy-pasting it into our Solve Errors page https://electronicsprojects.in/solve-errors/, or you can straight up paste the error on Internet and you know the rest. Also check if there are no spelling/syntax errors in the code. Compile the code again once to check if errors are fixed. I have given proper connections and code but still nothing is perfect.
9. Once code compiles and uploads smoothly, you can start testing the working of your circuit/project.
10. You can use 2G, 3G and 4G SIM Cards for SIM900A GSM Module. Keep an active SMS pack on the SIM Card which is inserted in the SIM900A GSM Module.
11. For testing, take your NEO 6M GPS Module open to sky. Power up the Arduino using Power Bank/Laptop/12V Battery (+ pin to Vin and – pin to GND).
12. Press the Push Button to check if SMS comes to the Phone number or not. It will take little time for the GPS Module to detect the satellite.
13. NEO 6M GPS Module may need 5v supply from Arduino, still first try with 3.3v, if doesn’t work then go for 5v.
14: If the thing doesn’t work then check connections and code. Also you can talk with me and the community through discord. All the links to social is given at the right side of this page.
Program Code:
/* https://www.electronicsprojects.in Location Tracker using Arduino, NEO 6M GPS Module and SIM900A GSM Module */

#include <SoftwareSerial.h>
#include <TinyGPS.h>

float lati, longi;

TinyGPS gps;
SoftwareSerial sgps(4, 5);
SoftwareSerial sgsm(2, 3);

void setup()
{
sgsm.begin(9600);
sgps.begin(9600);
}
void loop()
{
sgps.listen();
while (sgps.available())
{
int c = sgps.read();
if (gps.encode(c))
{
gps.f_get_position(&lati, &longi);
}
}
sgsm.listen();
if (sgsm.available() > 0) {
String    c = sgsm.readString();
c.trim();
if (c.indexOf("GET-GPS") >= 0) {
sgsm.print("\r");
delay(1000);
sgsm.print("AT+CMGF=1\r");
delay(1000);
sgsm.print("AT+CMGS=\"+ZZXXXXXXXXXX\"\r"); /*Add your country code instead of ZZ and Add the phone number on which you want to send the SMS by removing XXXXXXXXXX */
delay(1000);
sgsm.print("Latitude :");
sgsm.println(lati, 6);
sgsm.print("Longitude:");
sgsm.println(longi, 6);
delay(1000);
sgsm.write(0x1A);
delay(1000);
}
}
}