Description:
In this project, we build a Natural Gas and LPG Leakage Detector using Arduino. Here, the MQ5 Gas Sensor is used to detect Natural Gas and LPG. When the gas is detected the LED glows and Buzzer makes sound. Everything is controlled using Arduino UNO.
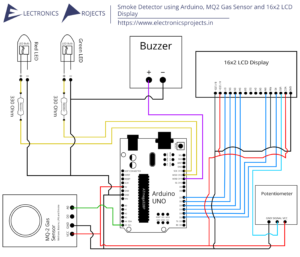
Circuit Diagram:

Components:
| SR. NO. | COMPONENT | PINOUT DIAGRAM | BUY |
|---|---|---|---|
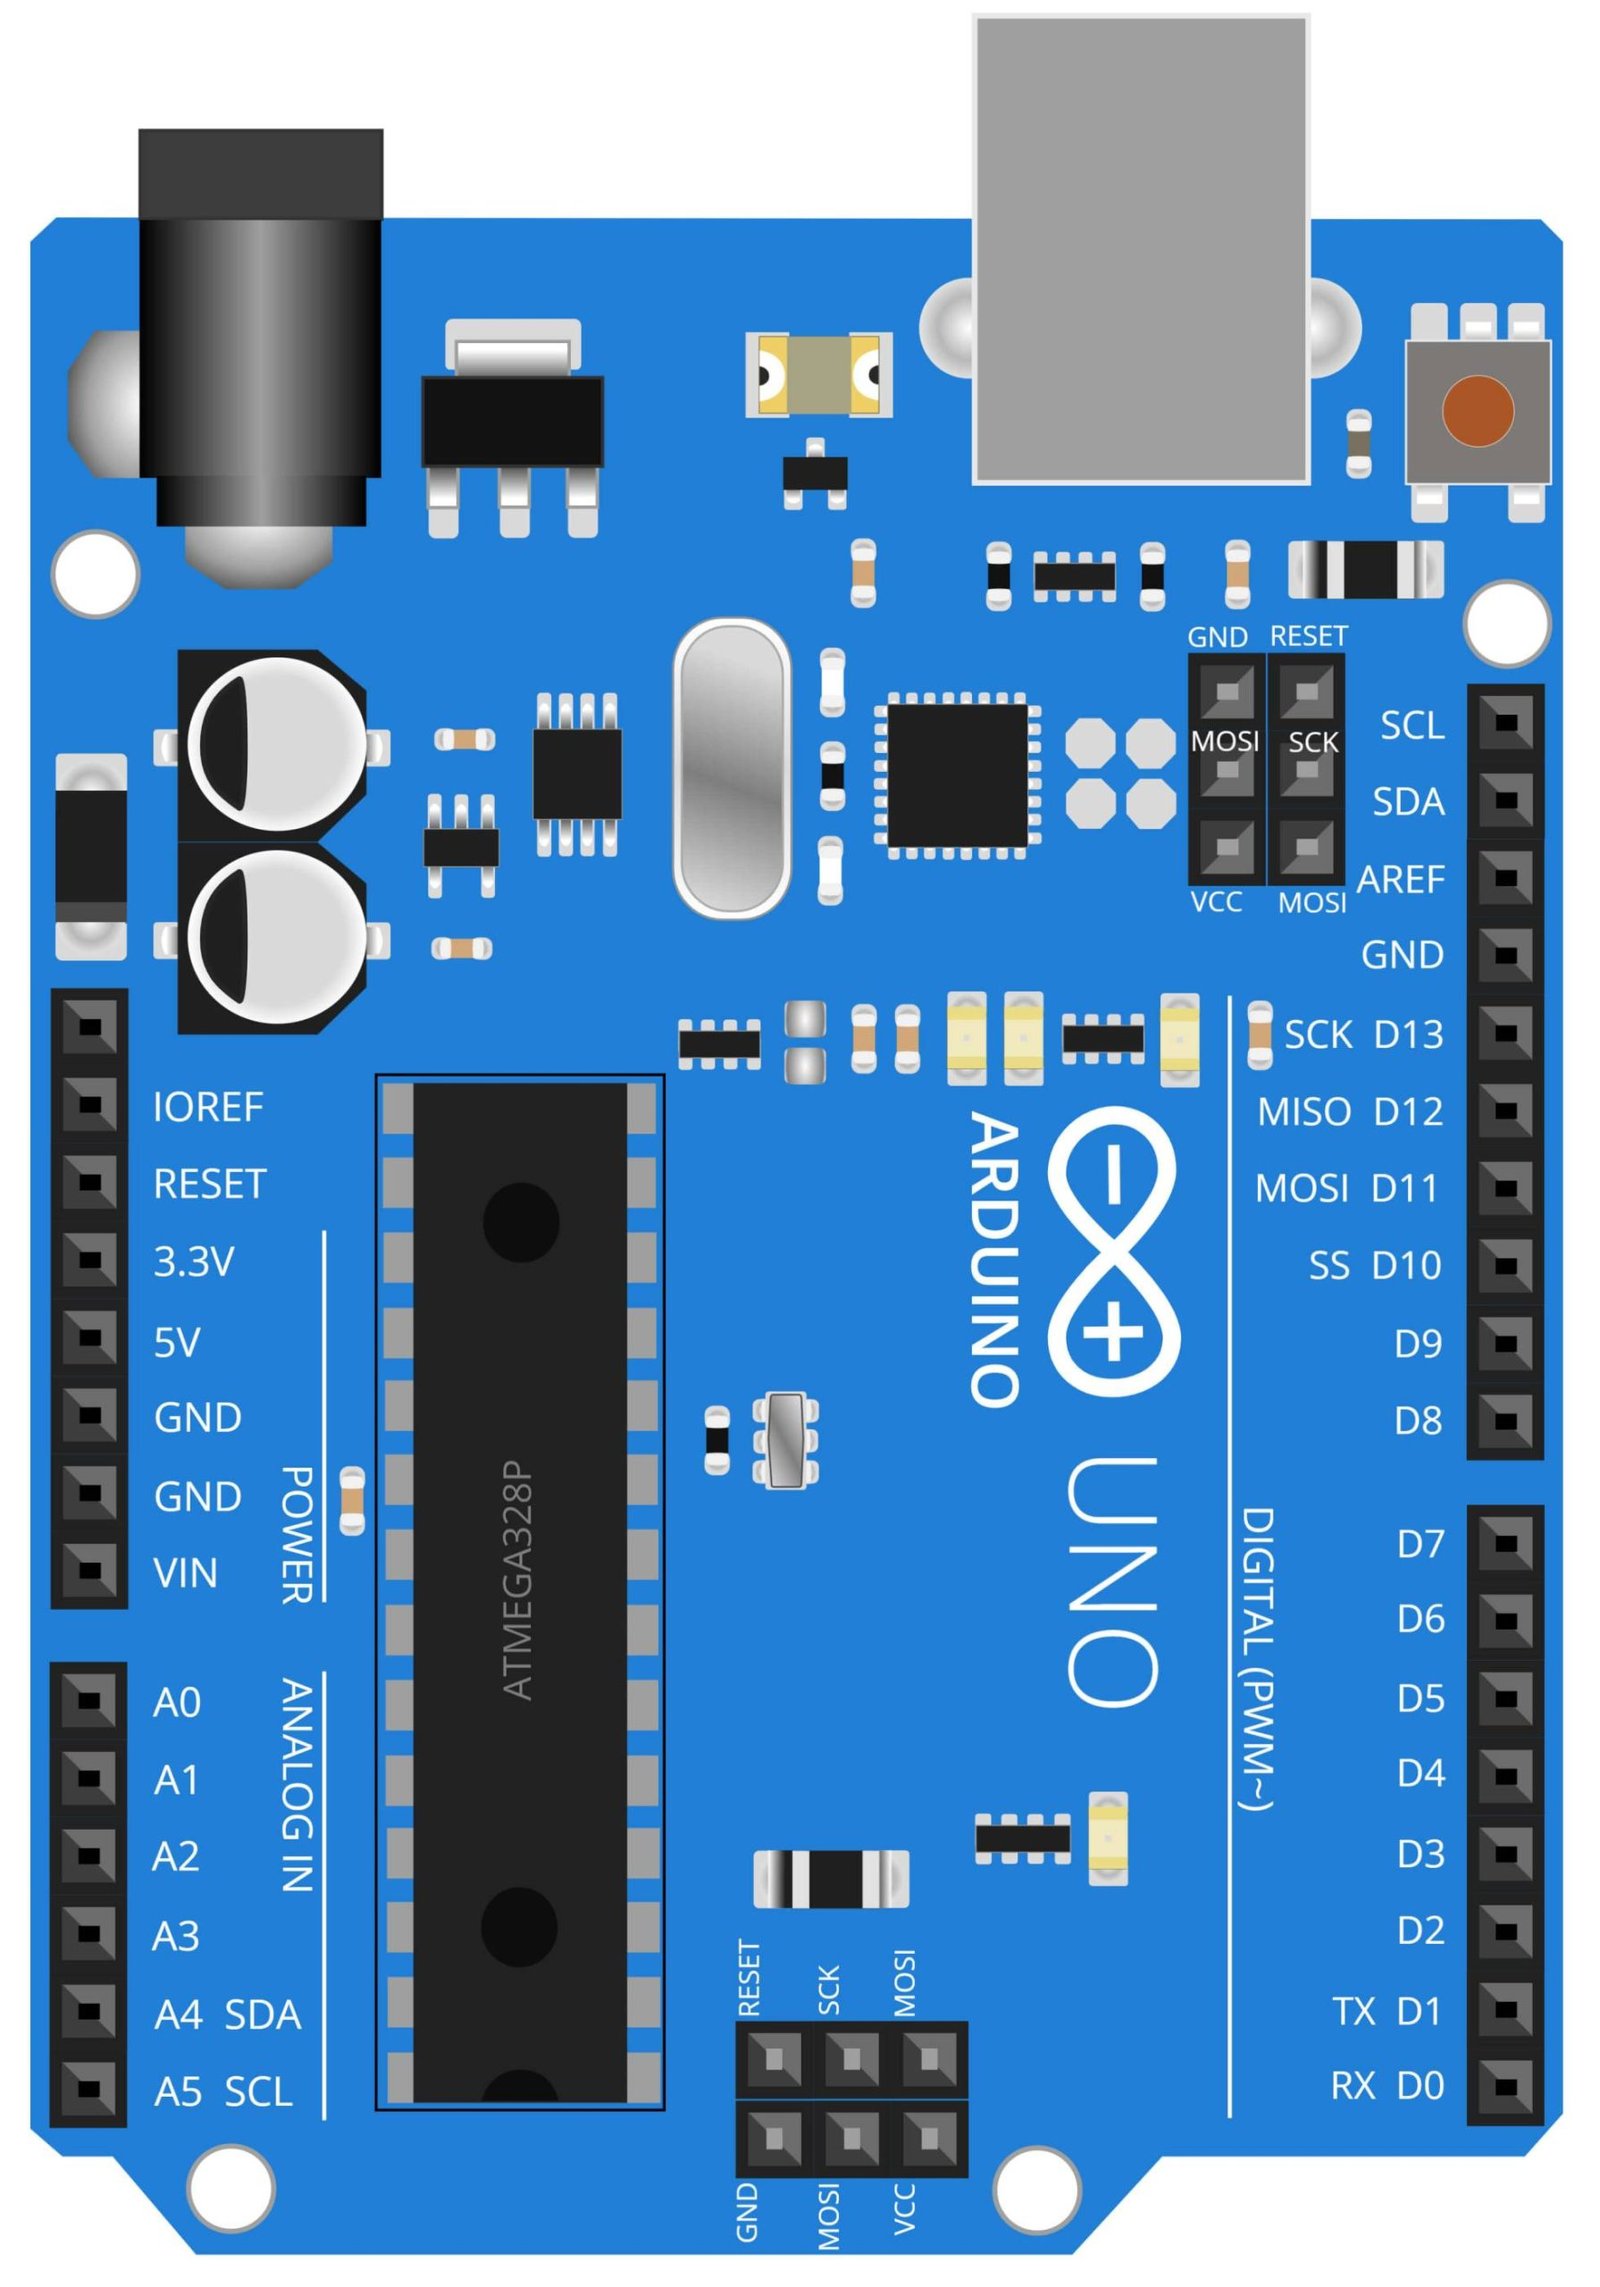
| 1 | Arduino UNO (Other Arduinos can be used too) | Arduino UNO Pinout Diagram⇗ | |
| 2 | Red LED | ||
| 3 | Green LED | ||
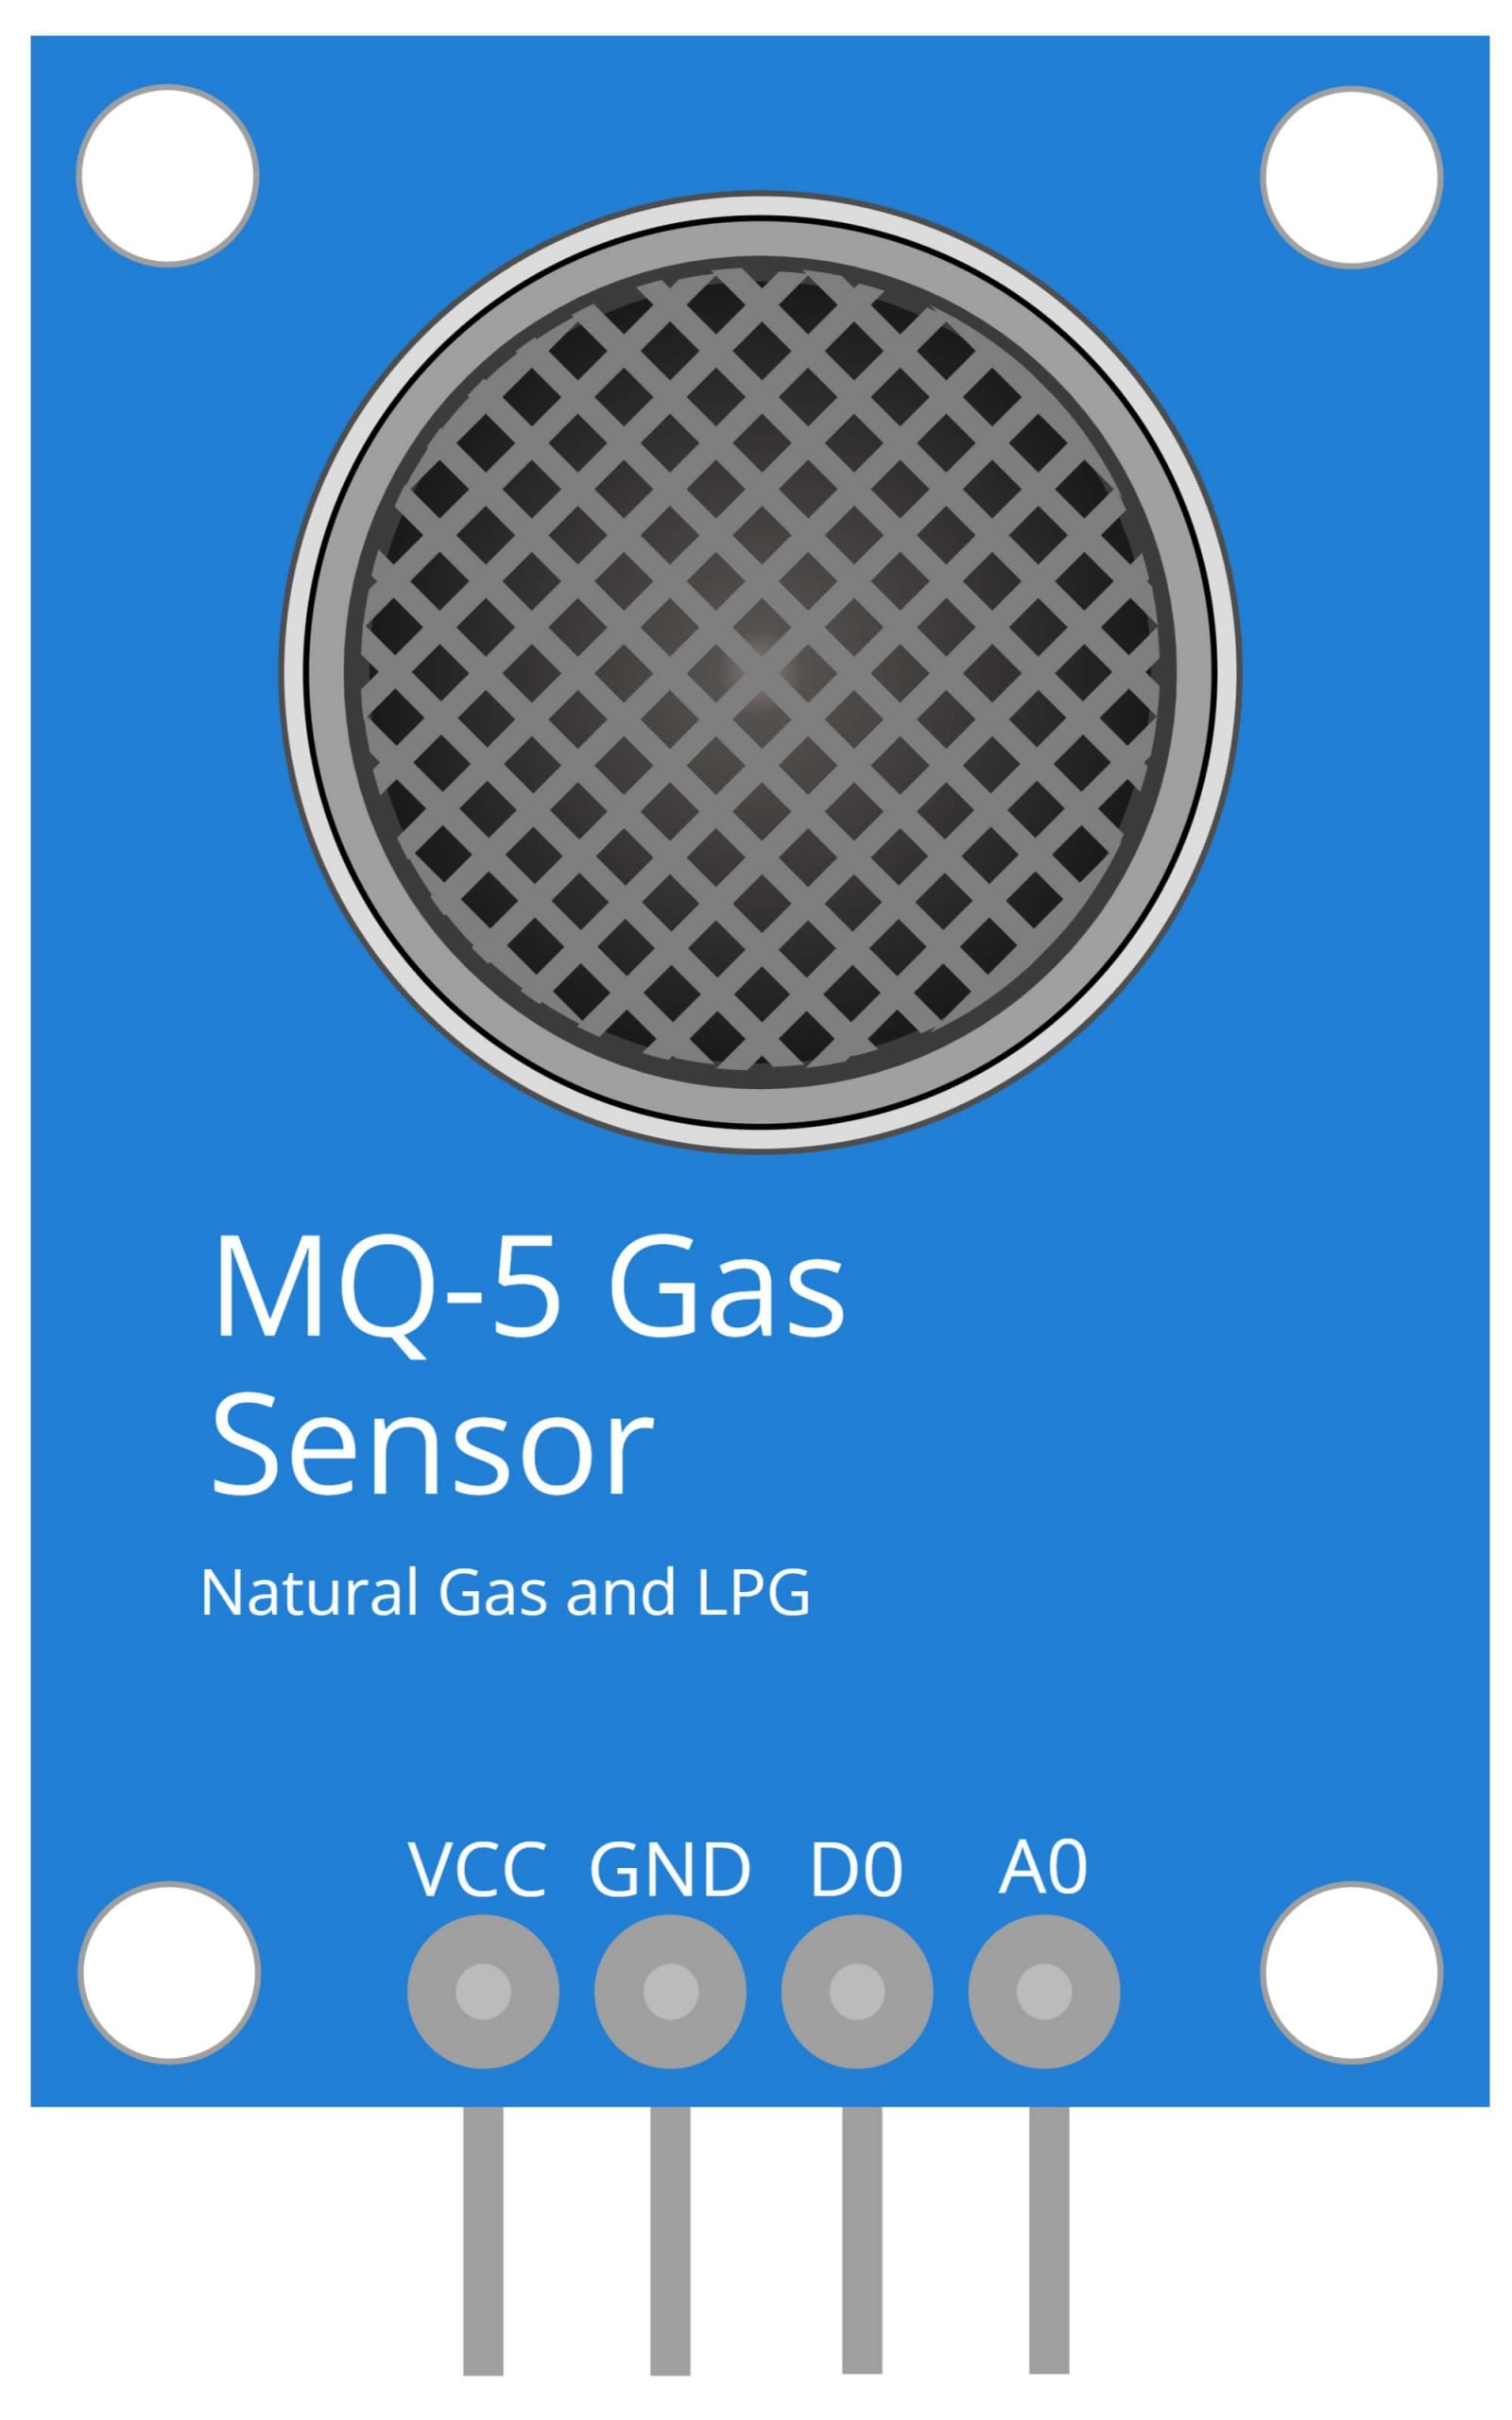
| 4 | MQ5 Gas Sensor | MQ5 Gas Sensor Pinout Diagram⇗ | |
| 5 | 220 Ohm Resistor x 2 | ||
| 6 | Buzzer |
Arduino UNO
The Arduino UNO is a microcontroller board based on the ATmega328P. It is an open-source platform that allows for easy programming and prototyping of electronic projects. In this project, the Arduino UNO serves as the brain of the system, controlling the sensor and alarm device. The Arduino UNO reads the input from the MQ5 gas sensor, which detects the presence of natural gas and LPG, and based on the sensor input, it triggers the alarm device such as LED and Buzzer. The LED will turn on to indicate the presence of gas and the buzzer will beep to alert the users. The Arduino UNO can be programmed to set a threshold for gas levels and trigger an alarm when the threshold is exceeded. The board also allows for easy communication with a computer for monitoring and data analysis. The Arduino UNO’s flexibility and ease of use make it a great choice for this type of project, and similar projects in the field of IoT and home automation.
MQ5 Gas Sensor
The MQ5 gas sensor is a device that is used to detect the presence of natural gas and LPG (liquid propane gas). It is a type of metal oxide semiconductor (MOS) sensor that utilizes a heated catalytic bead to detect the presence of these gases in the air. The MQ5 sensor is highly sensitive and can detect natural gas and LPG concentrations as low as 200ppm. In this project the MQ5 sensor is used to detect the presence of natural gas and LPG. The sensor is connected to the Arduino UNO microcontroller, which reads the gas level from the sensor and activates the alarm device such as LED and buzzer when the gas level exceeds a set threshold. The MQ5 sensor is a cost-effective and reliable way to detect the presence of natural gas and LPG, making it a popular choice for home safety and industrial applications. The sensor can also detect other gases such as methane, propane, hydrogen, and smoke making it versatile device.

Green LED
A Light-Emitting Diode (LED) is a semiconductor light source that emits light when an electrical current passes through it. A green LED is a specific type of LED that emits green light. In this project, the Green LED serves as a visual indication of normal or safe gas level. The green LED is connected to the Arduino UNO microcontroller and is activated when the gas level detected by the MQ5 gas sensor is below the set threshold. The green LED is an indication that the environment is safe and no gas leakage is detected. The use of a green LED in this project is a simple yet effective way to ensure the safety of people in the vicinity of the gas leak by providing a clear visual indication of normal gas level. Additionally, the green LED could also be used as a power indicator to confirm the device is turned on and working properly. It provides an easy way for users to check the device is working and detect any malfunctioning in the device.

Red LED
A Light-Emitting Diode (LED) is a semiconductor light source that emits light when an electrical current passes through it. A red LED is a specific type of LED that emits red light. In this project, the red LED serves as an alarm indicator. The red LED is connected to the Arduino UNO microcontroller and is activated when the gas level detected by the MQ5 gas sensor exceeds a set threshold. The red LED serves as a visual warning of the presence of natural gas and LPG, alerting the users to take necessary precautions. The use of a red LED for this purpose is beneficial as red color is easily noticeable and can grab attention immediately which is important in case of gas leakage, where every second matters. The use of a red LED in this project is a simple yet effective way to ensure the safety of people in the vicinity of the gas leak. Additionally, the LED can also be used as an indicator to confirm that the device is powered on and working properly.

Resistor
A resistor is a passive electronic component that is used to reduce the current flow in a circuit, or to adjust the voltage levels in a circuit. A 220 ohm resistor is a specific type of resistor that has a resistance of 220 ohms. In this project, the 220 ohm resistor is used to limit the current flowing through the LED. LEDs require a specific current to function properly and too much current can cause the LED to burn out. The 220 ohm resistor is connected in series with the LED, and it limits the amount of current flowing through the LED, protecting it from damage. The use of a 220 ohm resistor in this project is a simple yet effective way to ensure the longevity of the LED and maintain the proper functioning of the alarm system. It is important to use the correct resistance value to protect the LED, as well as other components in the circuit.
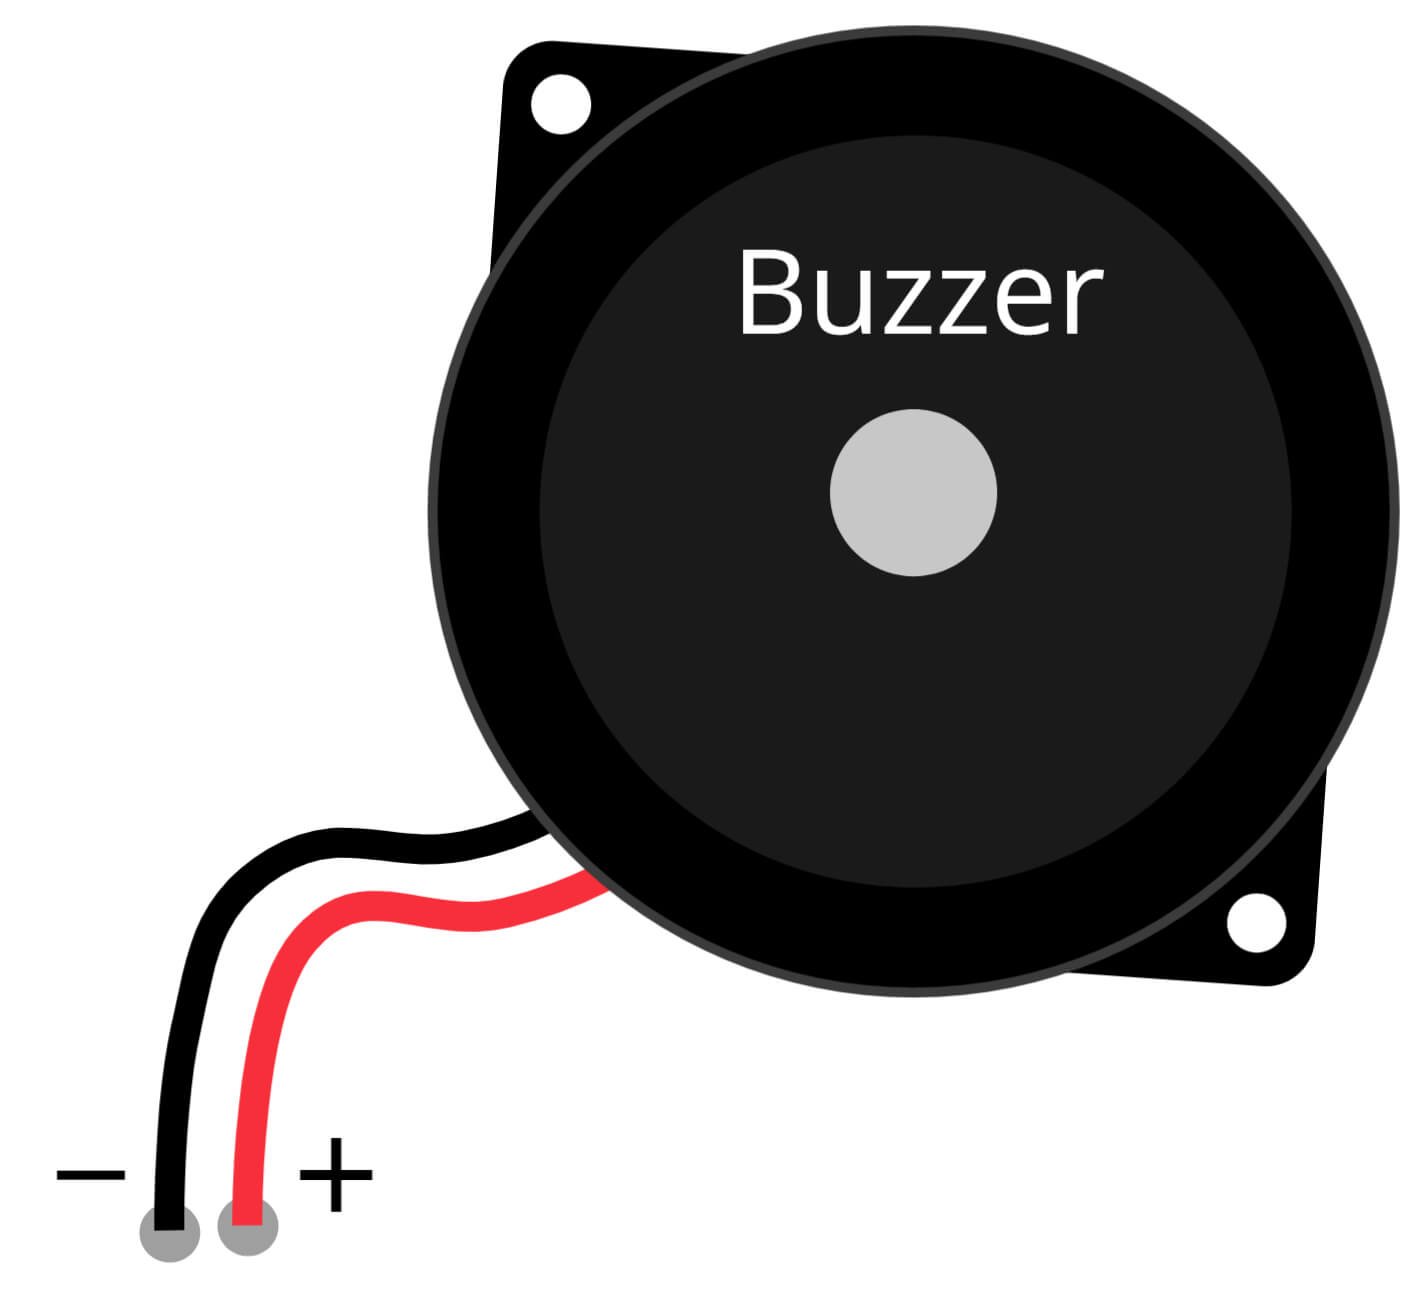
Buzzer
A buzzer is an audio signaling device that generates a loud, continuous sound. Buzzers are commonly used in a variety of applications, including alarms, timers and other warning systems. In this project, the buzzer serves as an audible alarm that alerts users to the presence of natural gas and LPG. The buzzer is connected to the Arduino UNO microcontroller and is activated when the gas level detected by the MQ5 gas sensor exceeds a set threshold. The loud, continuous sound of the buzzer can be heard even in a noisy environment, making it an effective warning system. The buzzer can be controlled by the microcontroller to generate different tone, frequency or duration of beep to indicate the level of gas detection, adding more information for the user. The use of a buzzer in this project is a simple yet effective way to ensure the safety of people in the vicinity of the gas leak.
Steps and Info:
1. Get correct components as given. You can buy online or offline. I buy electronics components mostly from Amazon.
2. Start connecting the components. If you are new to connecting components in an electronic circuit, then use a Breadboard or you can straight up make connections using Jumper wires but it will create problem when there will be two or more connections needed at one pin (for example two or more different sensors 5V connection to Arduino’s 5V pin). But before soldering components on a PCB or printing a PCB for your circuit, better try using breadboard so that any errors and mistakes can be observed on breadboard and not after soldering. Or do connections in your way.
3. Now after building the circuit, download the Arduino IDE from https://www.arduino.cc/ website.
4. If you are new to Arduino IDE software, then watch this video we made specially for beginners about Arduino IDE.
5. If you know Arduino IDE then straight up copy the code we given and paste it into the Arduino IDE sketch.
6. Connect the Arduino to your Computer/device. Select a proper port, proper Arduino type and whatever other settings are. Here it is Arduino UNO. (If you don’t know what this all is then watch our video: ).
7. Compile the code and Upload it.
8. If any error occurs then try to troubleshoot it by finding/copy-pasting it into our Solve Errors page https://electronicsprojects.in/solve-errors/, or you can straight up paste the error on Internet and you know the rest. Also check if there are no spelling/syntax errors in the code. Compile the code again once to check if errors are fixed. I have given proper connections and code but still nothing is perfect.
9. Once code compiles and uploads smoothly, you can start testing the working of your circuit/project.
10. Now for detecting Natural gas, take your device to a place where there is a source of natural gas and check if the MQ4 gas sensor detects the gas. If it detects, then LED and Buzzer will turn ON.
11. For detecting LPG, take your device to a place where there is an LPG Gas stove, try to pass very few amount of gas from the nozzle or the gas burner and check if the sensor detects the gas. If it detects then the LED will light up and buzzer will make sound.
12. If you don’t have source of these both gases then simply use a smoke.
13. NOTE: Natural Gas and LPG are super hazardous+flammable! NEVER NEVER keep any fire/fire source near these gases. If the gas comes in contact with fire, it ignites instantly or even blows up! Work safely and cautiously.
Program Code:
/* https://electronicsprojects.in Natural Gas and LPG Leakage Detector using Arduino, MQ5 Gas Sensor, LED and Buzzer */

int RedLED = 11;
int GreenLED = 10;
int Buzzer = 9;
int MQ5 = A5;
int SENSORTHRESHOLD = 120;

void setup() {
  pinMode(RedLED, OUTPUT);
  pinMode(GreenLED, OUTPUT);
  pinMode(Buzzer, OUTPUT);
  pinMode(MQ5, INPUT);
  Serial.begin(9600);
}

void loop() {
  int analogSensor = analogRead(MQ5);

  Serial.print("Pin A0: ");
  Serial.println(analogSensor);
  if (analogSensor > SENSORTHRESHOLD)
  {
    digitalWrite(RedLED, HIGH);
    digitalWrite(GreenLED, LOW);
    digitalWrite(Buzzer, HIGH);
  }
  else
  {
    digitalWrite(RedLED, LOW);
    digitalWrite(GreenLED, HIGH);
    digitalWrite(Buzzer, LOW);
  }
  delay(100);
}