Description:
This is just a simple racing game which is based on Arduino UNO. The game can be played on Nokia 5110 LCD Display and controlled using a small Dual Axis XY Joystick. Score and Speed can be viewed on the Display.
Circuit Diagram:
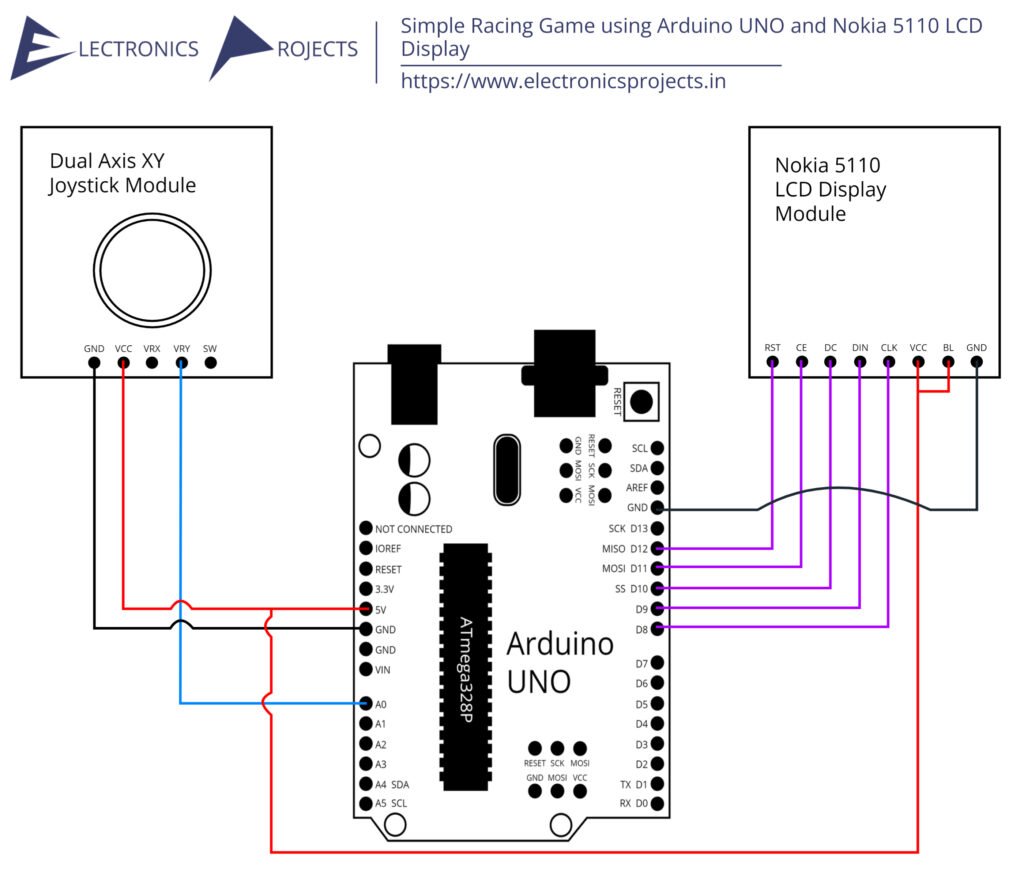
Components:
| SR. NO. | COMPONENT | PINOUT DIAGRAM | BUY |
|---|---|---|---|
| 1 | Arduino UNO (Other Arduinos can be used too) | Arduino UNO Pinout Diagram⇗ | |
| 2 | Nokia 5110 LCD Display Module | ||
| 3 | Dual Axis XY Joystick module |
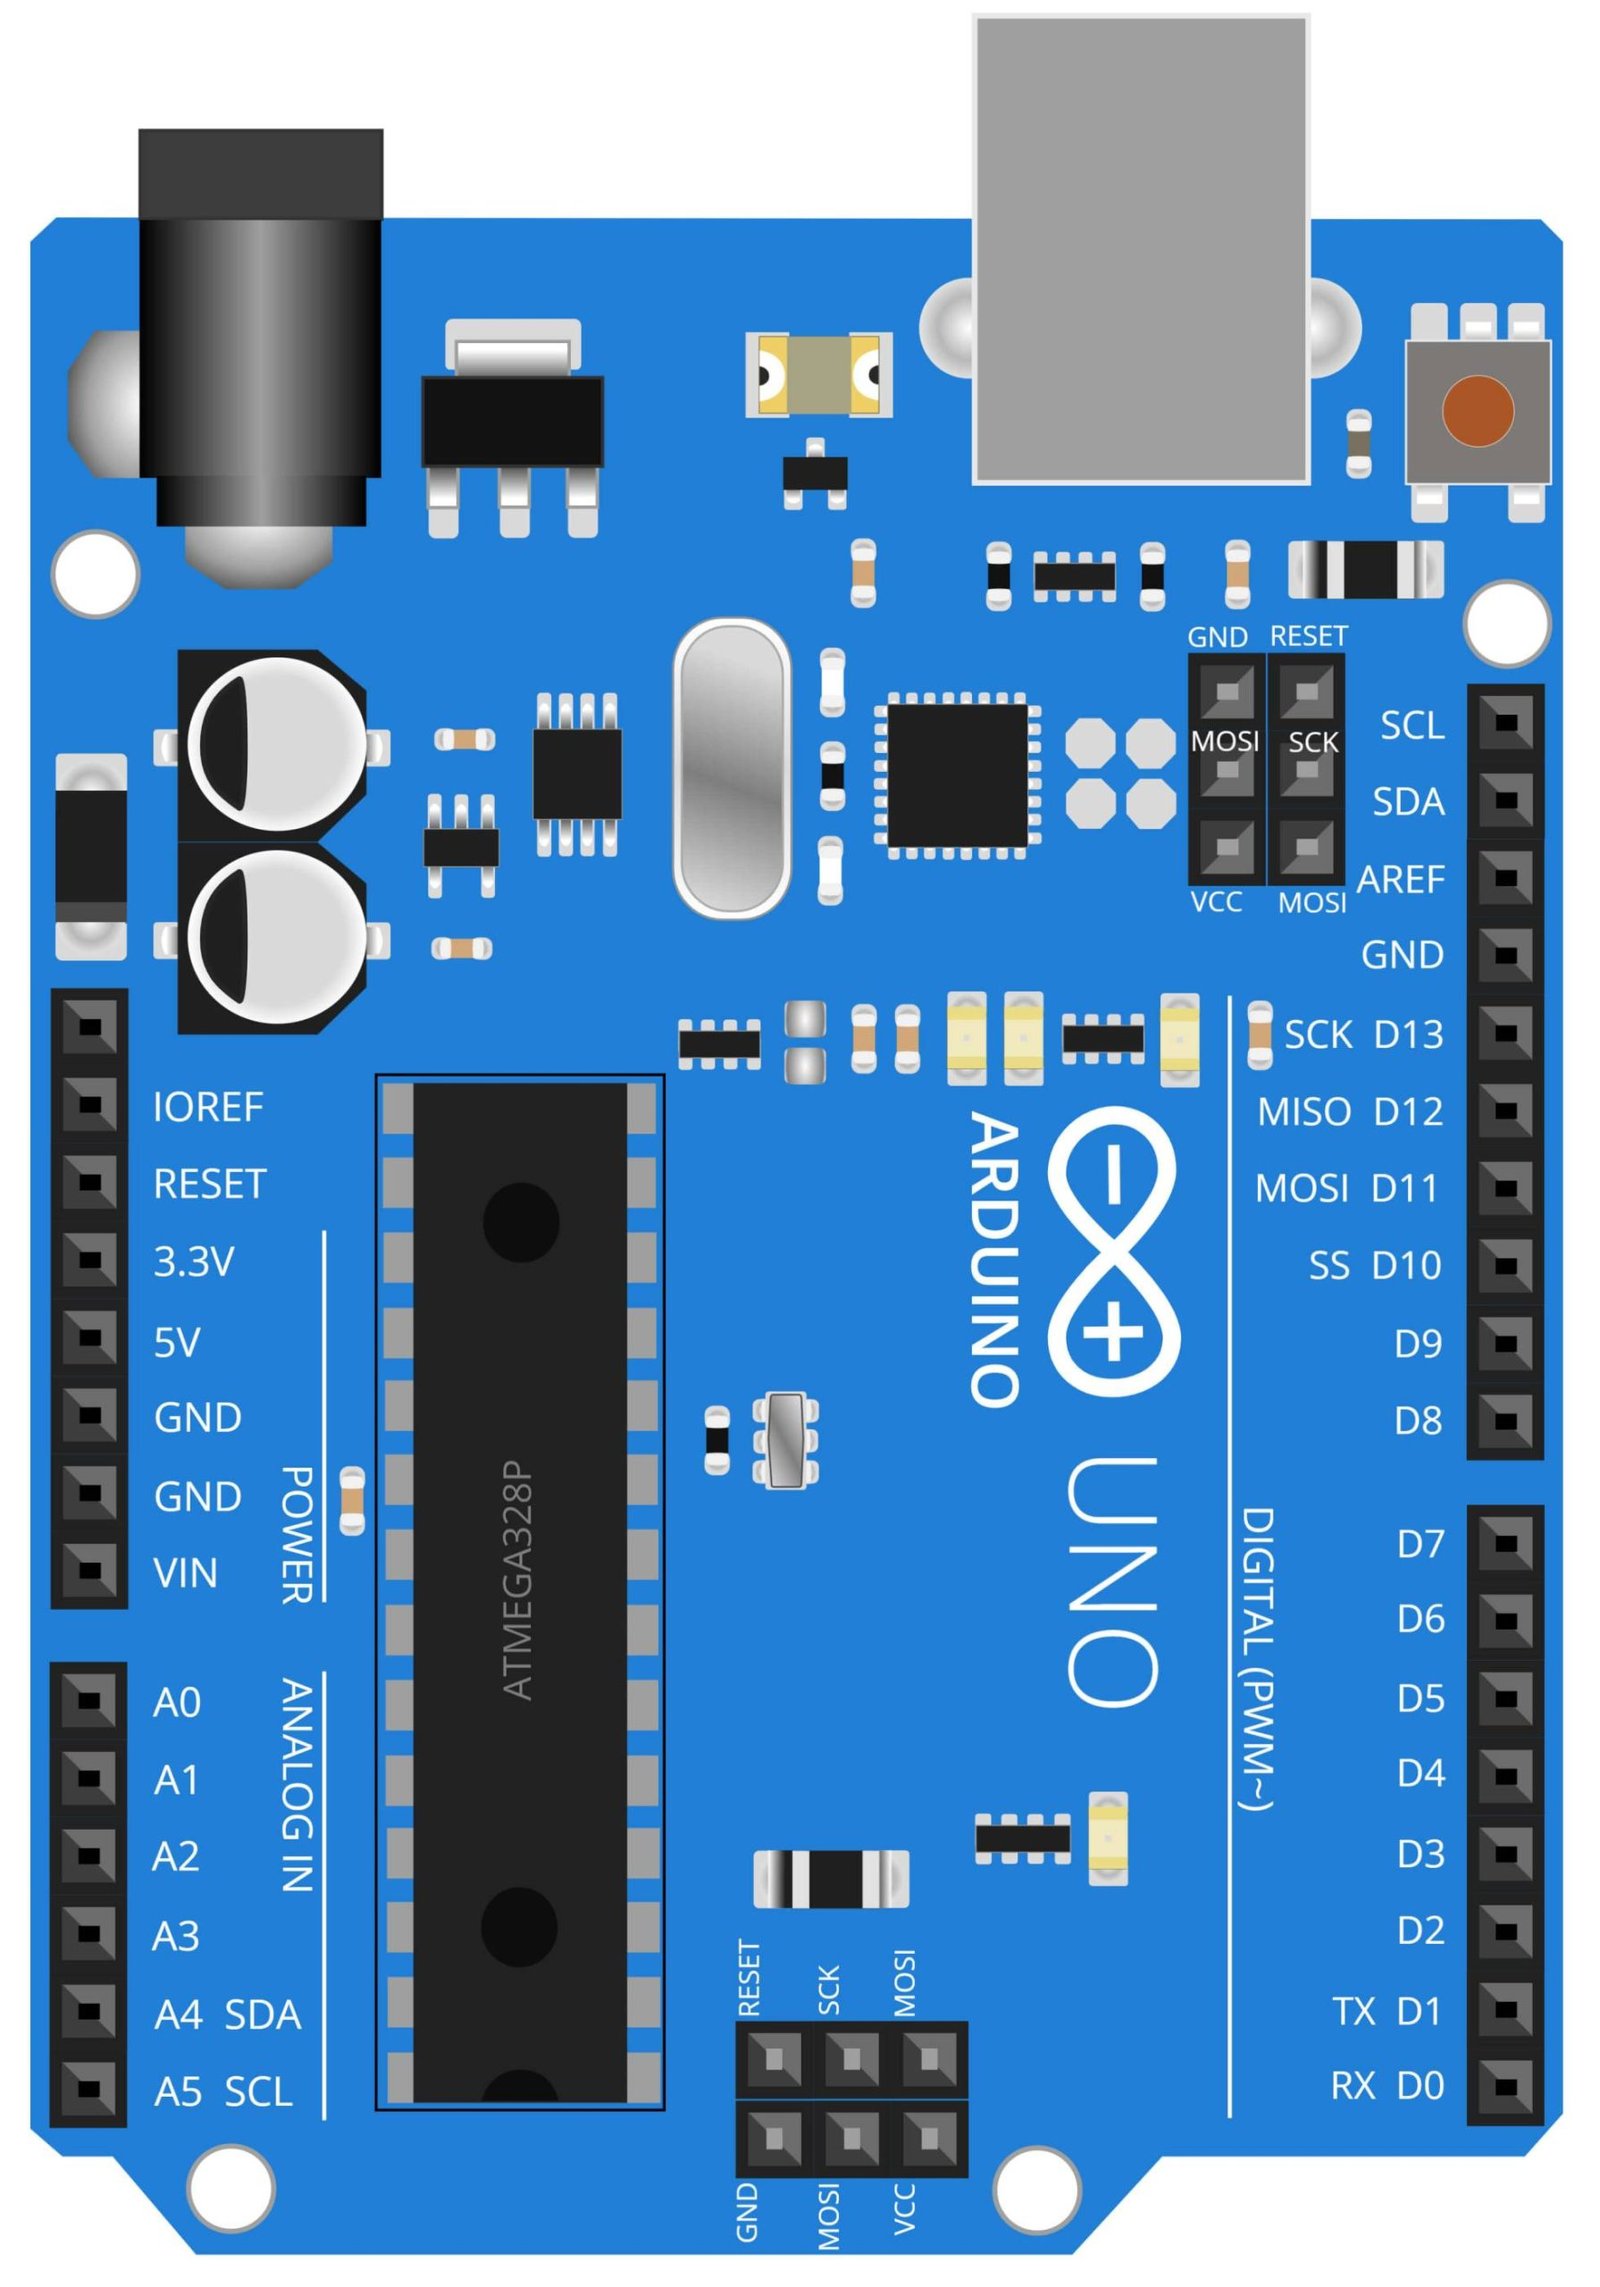
Arduino UNO
The Arduino UNO is a microcontroller board that is widely used in a variety of DIY projects, including a simple racing game. It is based on the ATmega328P microcontroller and can be programmed using the Arduino IDE, which allows for easy and quick development of projects. In the context of a simple racing game, the Arduino UNO is used to process signals received from the Dual Axis XY Joystick module and control the Nokia 5110 LCD Display. The Joystick module is used to control the car on the game and send the information to the Arduino UNO. The Arduino UNO then processes this information and updates the car position on the Nokia 5110 LCD Display.
The Arduino UNO has a variety of input and output pins that allow it to interface with different sensors and actuators, such as the Dual Axis XY Joystick module and the Nokia 5110 LCD Display, which makes it an ideal solution for creating a simple racing game that is easy to play and fun.
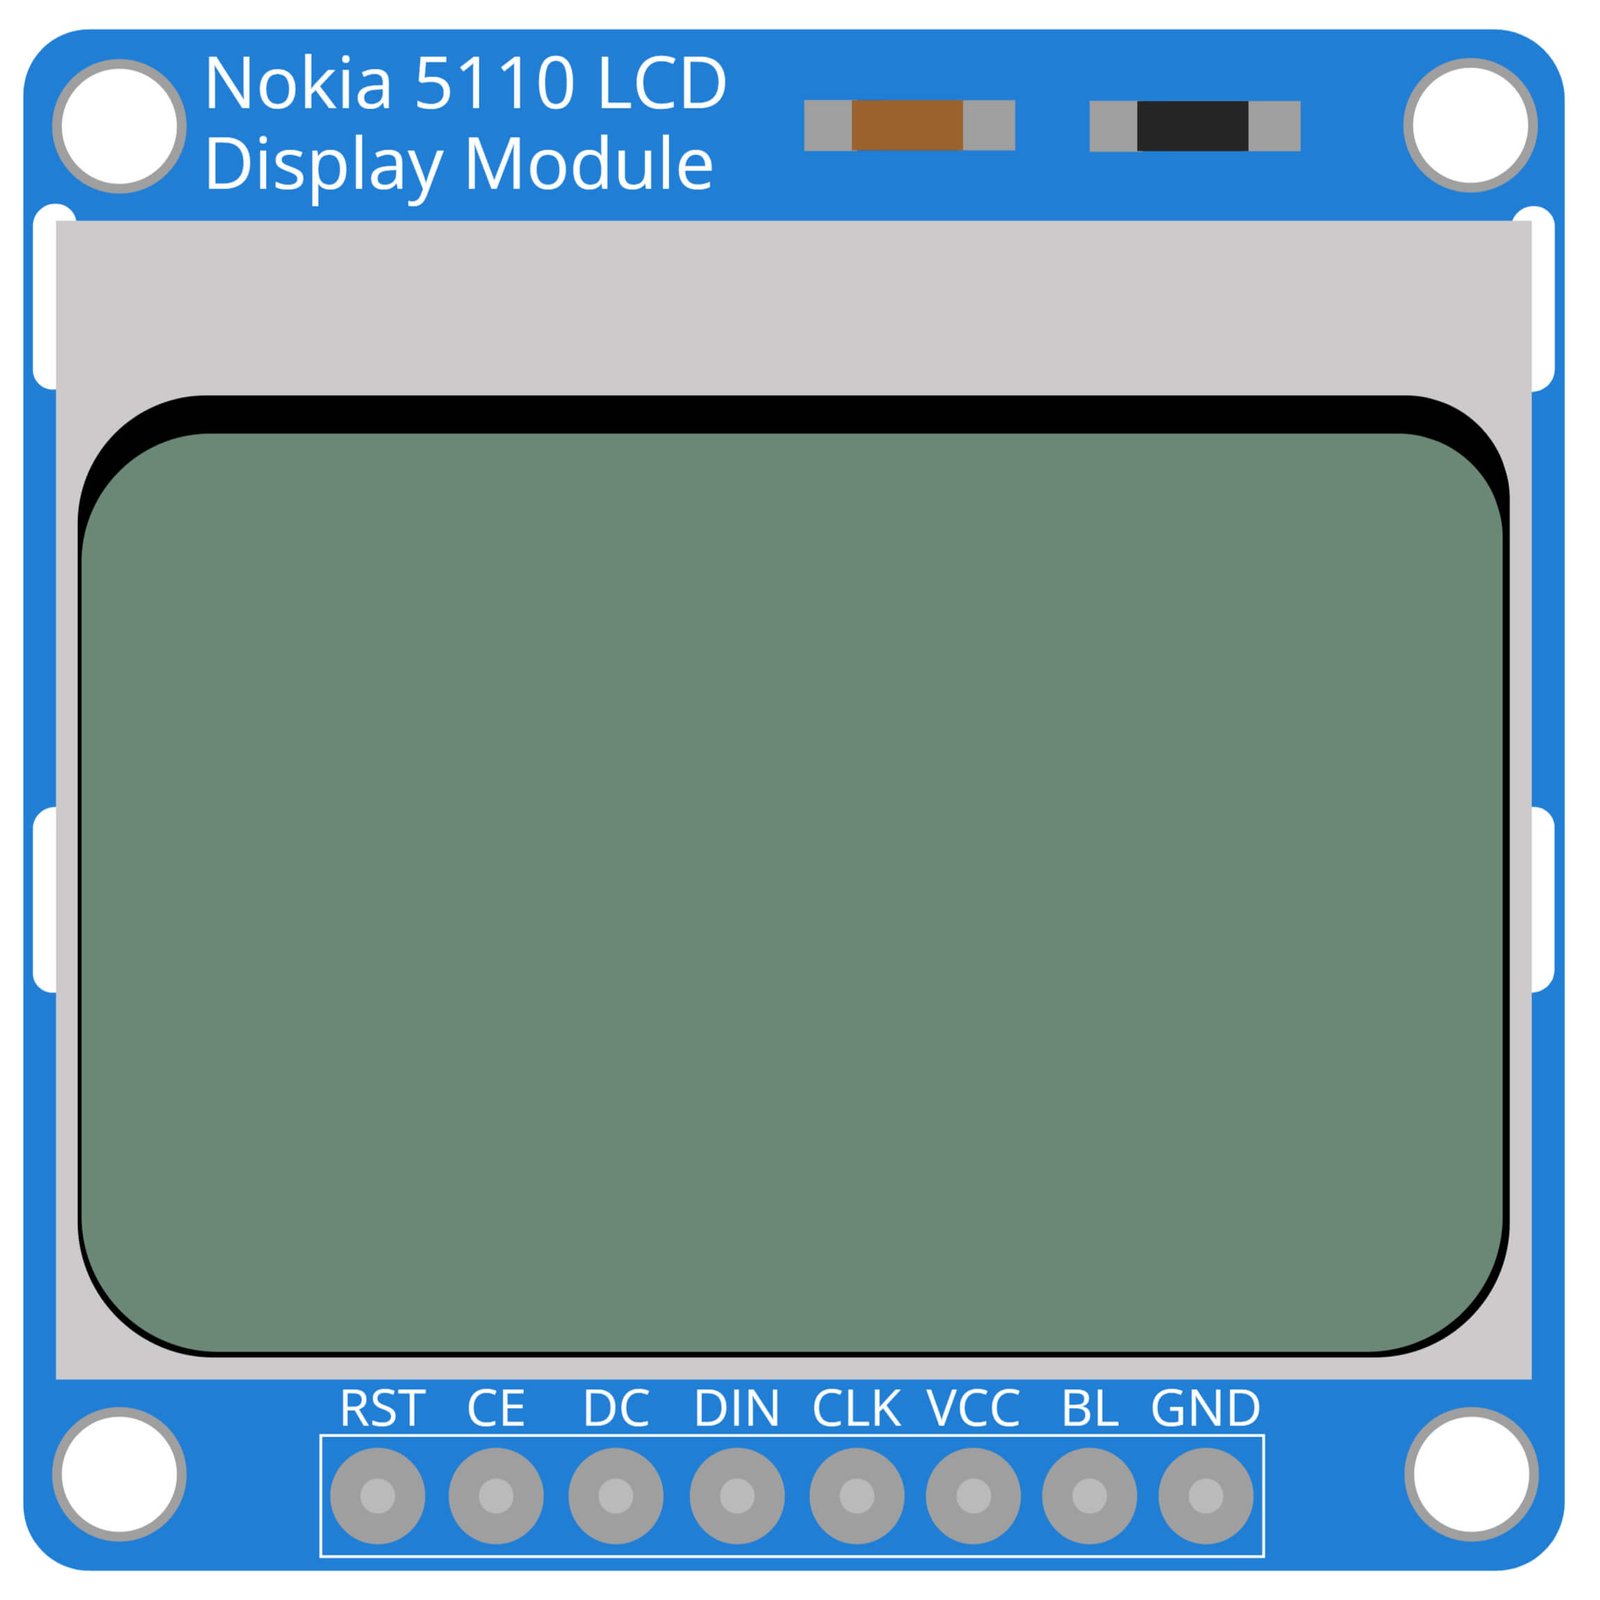
Nokia 5110 LCD Display Module
The Nokia 5110 LCD Display Module is a low-cost, high-performance display module that is commonly used in a variety of DIY projects including simple racing game. It is a monochrome display that uses a low power consumption and can be easily interfaced with microcontroller boards such as the Arduino UNO. In the context of a simple racing game, the Nokia 5110 LCD Display is used to display the game’s user interface, it shows the road, the car, the score and other information. The Nokia 5110 LCD Display is controlled by the Arduino UNO which sends commands and data to the display in order to update its content.
The Nokia 5110 LCD Display is highly versatile, it has a high contrast and wide viewing angle which makes it easy to read even in low light conditions. It is also small and lightweight which makes it easy to integrate into a portable device. The Nokia 5110 has a low power consumption which makes it suitable for use in battery-powered devices. Additionally, it is also easy to interface with other devices, such as the Arduino UNO, as it uses a simple serial communication protocol. The Nokia 5110 LCD Display is an ideal solution for creating a simple racing game that is easy to play and fun.
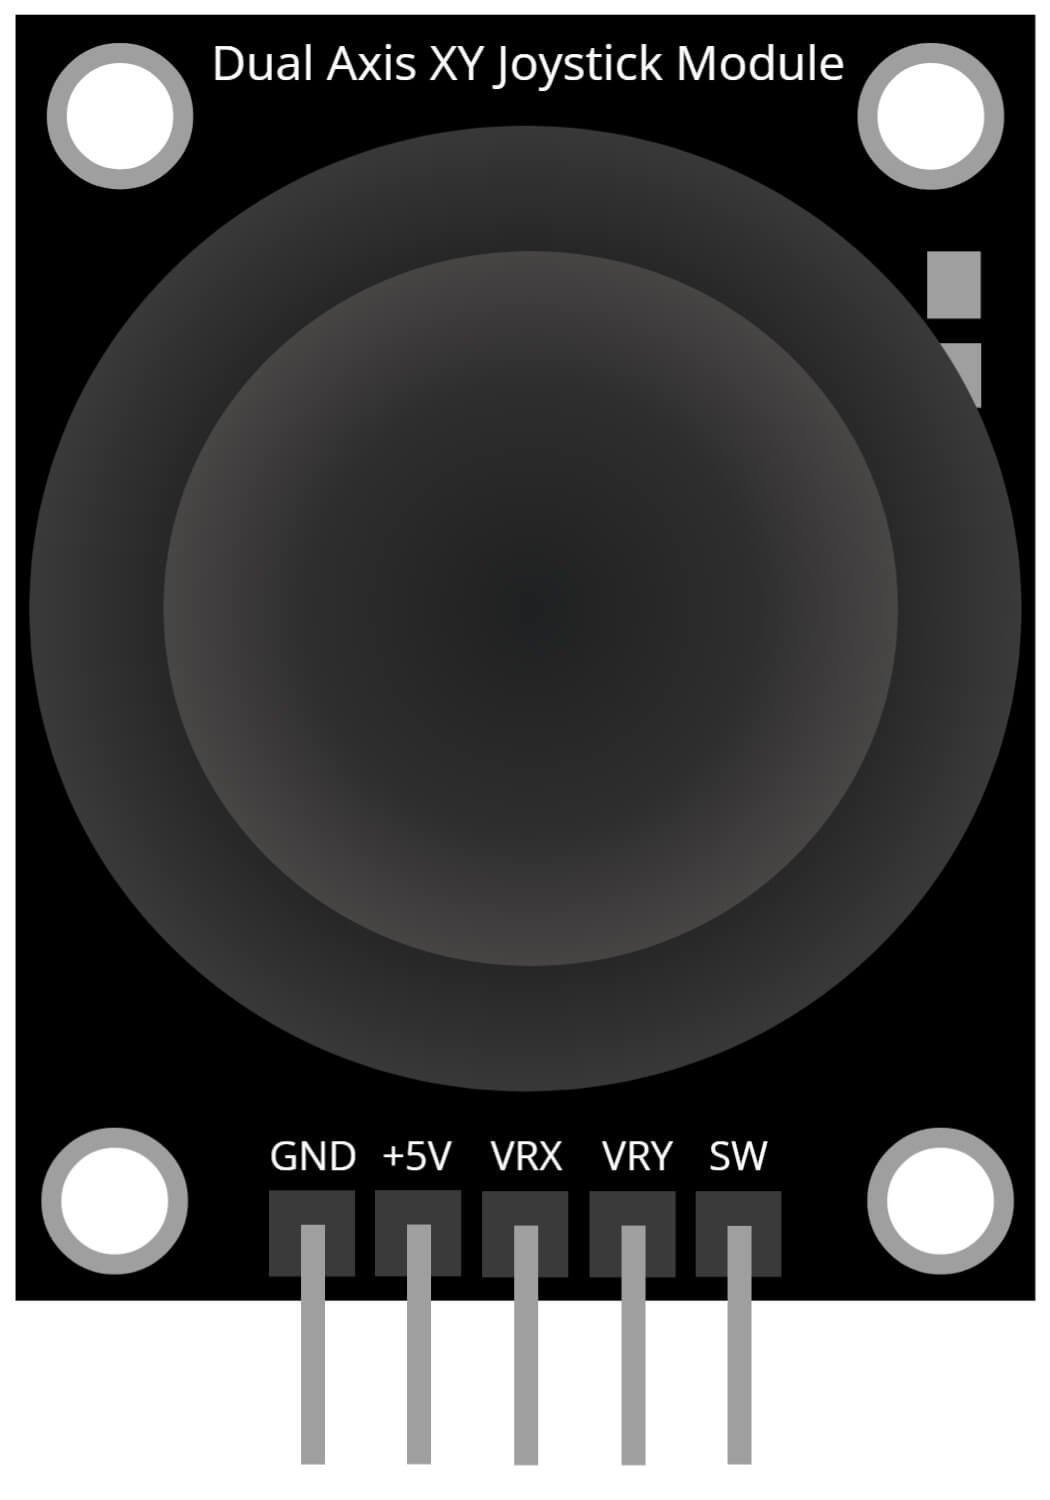
Dual Axis Joy Stick Module
The Dual Axis Joystick Module is a low-cost and easy-to-use input device that is commonly used in a variety of DIY projects, including simple racing games. It consists of a joystick that can be moved in two directions (X and Y) and two potentiometers that are used to measure the position of the joystick. In the context of a simple racing game, the Dual Axis Joystick Module is used as the controller of the game. The player moves the joystick to control the car on the screen. The module sends the x and y position of the joystick to the Arduino UNO, which then processes this information and updates the position of the car on the Nokia 5110 LCD Display.
The Dual Axis Joystick Module is highly versatile, it can be used in a wide range of applications and it is easy to interface with other devices, such as the Arduino UNO. It provides a simple and intuitive way for the player to interact with the game. The module is also small and lightweight which makes it easy to integrate into a portable device. Additionally, it is also low power consumption which makes it suitable for use in battery-powered devices. The Dual Axis Joystick Module is an ideal solution for creating a simple racing game that is easy to play and fun.
Steps and Info:
1. Get correct components as given. You can buy online or offline. I buy electronics components mostly from Amazon.
2. Start connecting the components. If you are new to connecting components in an electronic circuit then use a Breadboard or you can straight up make connections using Jumper wires but it will create problem when there will be two or more connections needed at one pin(for example two or more different sensors 5V connection to Arduino’s 5V pin). But before soldering components on a PCB or printing a PCB for your circuit, better try using breadboard so that any errors and mistakes can be observed on breadbored and not after soldering. Or do connections in your way.
3. Now after building the circuit, download the Arduino IDE from https://www.arduino.cc/ website.
4. If you are new to Arduino IDE software, then watch this video we made specially for beginners about Arduino IDE.
5. If you know Arduino IDE then straight up copy the code we given and paste it into the Arduino IDE sketch.
6. Connect the Arduino to your Computer/device. Select a proper port, proper Arduino type and whatever other settings are. Here it is Arduino UNO. (If you don’t know what this all is then watch our video: ).
7. Compile the code and Upload it.
8. If any error occurs then try to troubleshoot it by finding/copy-pasting it into our Solve Errors page https://electronicsprojects.in/solve-errors/, or you can straight up paste the error on Internet and you know the rest. Also check if there are no spelling/syntax errors in the code. Compile the code again once to check if errors are fixed. I have given proper connections and code but still nothing is perfect.
9. Once code compiles and uploads smoothly, you can start testing the working of your circuit/project.
10. This is a pretty simple project. Once you turn on the Arduino, the game will be displayed on the Nokia 5110 LCD Display and you can straight up start playing with Joystick. If it doesn’t then check connections and code. Also you can talk with me and the community through discord. All the links to social is given at the right side of this page.
Program Code:
/* https://www.electronicsprojects.in Simple Racing Game using Arduino UNO and Nokia 5110 LCD Display */

#include <SPI.h> //SPI librarey for Communication
#include <Adafruit_GFX.h> //Graphics lib for LCD
#include <Adafruit_PCD8544.h> //Nokia 5110 LCD librarey


static const unsigned char PROGMEM ship[] =
{
B00000000,B00000000,
B00110000,B00001100,
B00110000,B00001100,
B00110000,B00001100,
B00110000,B00001100,
B00110000,B00001100,
B00111111,B11111100,
B00111000,B00011100,
B00111000,B00011100,
B00111111,B11111100,
B00111111,B11111100,
B00111111,B11111100,
B00110000,B00001100,
B00110000,B00001100,
B00000000,B00000000,
};

//Bitmap Data for enemyship
static const unsigned char PROGMEM enemy[] =
{
B00000000,B00000000,
B00110001,B10001100,
B00110001,B10001100,
B00110001,B10001100,
B00110001,B10001100,
B00110001,B10001100,
B00111111,B11111100,
B00111000,B00011100,
B00111000,B00011100,
B00111111,B11111100,
B00111111,B11111100,
B00111111,B11111100,
B00110000,B00001100,
B00110000,B00001100,
B00000000,B00000000,
};

Adafruit_PCD8544 display = Adafruit_PCD8544(8, 9, 10, 11, 12); //Specifiy the pins to which the LCD is connected

int enemy_0_pos, enemy_1_pos, enemy_phase;
int Joy_X;
int game_speed = 0;
int score = 0;
char POS=2;
boolean enemy_dead = true;
boolean control = true;

void setup()   {
  Serial.begin(9600); //Serial Monitor for Debugging

  display.begin(); //Begin the LCD communication
  display.setContrast(30); //Set the contrast of the display
  display.clearDisplay();   // clears the screen and start new
}

void loop() {
  display.clearDisplay();   // clears the screen and start new

  gamescreen(); //Displays the box, score and speed values

  //Get input from user
  Joy_X = analogRead(A0); //Read the X vaue from Joystick
  if (Joy_X < 312 && POS!=1 && control==true) //If joy stick moves right
  { POS--; control = false;} //Decrement position of spaceship
  else if (Joy_X > 712 && POS!=3 && control==true) //If joy stick moves right
  { POS++; control = false;} //Increment position of spaceship
  else if (Joy_X >502 && Joy_X<522) //If joystick back to initial position
  control = true; //Preare it for next move
  //Input from user received


  player_car(POS); //Place the Space ship based on the input from user

  if (enemy_dead) //Check of enemy ships are dead
  { //If they are dead
  enemy_0_pos = POS; //create first enemy above the space ship
  enemy_1_pos = random(0,4); //create secound enemy at some other random place
  enemy_phase = 0; //Bring the enemy form the top
  enemy_dead = false; //Enemy is created so they are not dead anymore
  }

  enemy_ship (enemy_0_pos,enemy_phase); enemy_phase++; //Place the first enemy on screen and drive him down
  enemy_ship (enemy_1_pos,enemy_phase); enemy_phase++; //Place the secound enemy on screen and drive him down

  if (enemy_phase>22 && ((enemy_0_pos == POS) || (enemy_1_pos == POS)) ) //If the Spaceship touches any one of the enemy
  game_over(); //Display game over

  if (enemy_phase>40) //If thespace ship escapes the enemys
  {enemy_dead = true; score++;} //Increase the score and kill the enemys

  Level_Controller(); //BAsed on score increase the speed of game


  display.display();  //Update the display with all the changes made so far
}

void   Level_Controller() //Increase the speed of game based on the score.
{
  if (score>=0 && score<=10) //If score 0-10
  {
    game_speed = 0; delay(100); //slow the game by 80ms
  }
    if (score>10 && score<=20) //If score 10-40
  {
    game_speed = 1; delay(90); //slow the game by 70ms
  }
    if (score>20 && score<=30) //If score 20-40
  {
    game_speed = 2; delay(80); //slow the game by 60ms
  }
    if (score>30 && score<=40) //If score 30-40
  {
    game_speed = 3; delay(70); //slow the game by 50ms
  }
      if (score>40 && score<=50)
  {
    game_speed = 4; delay(60);
  }

        if (score>50 && score<=60)
  {
    game_speed = 5; delay(50);
  }

         if (score>60 && score<=70)
  {
    game_speed = 6; delay(40);
  }

           if (score>70 && score<=80)
  {
    game_speed = 7; delay(30);
  }
}

void enemy_ship(int place, int phase) //Place the enemy_ship in the new place and phase
{
  if (place==1)
  display.drawBitmap(2, phase, enemy, 15, 15, BLACK);

  if (place==2)
  display.drawBitmap(18, phase, enemy, 15, 15, BLACK);

  if (place==3)
  display.drawBitmap(34, phase, enemy, 15, 15, BLACK);
}

void game_over() //Display game over screen
{
  while(1) //The program will be stuck here for ever
  {
    delay(100);
  display.clearDisplay();
  display.setCursor(20,2);
  display.println("GAME OVER");

  display.display();
  }
}

void gamescreen()
{
//Draw the Border for Screen
  display.drawLine(0, 0, 0, 47, BLACK);
  display.drawLine(50, 0, 50, 47, BLACK);
  display.drawLine(0, 47, 50, 47, BLACK);

//Enter Default Texts
  display.setTextSize(1);
  display.setTextColor(BLACK);
  display.setCursor(52,2);
  display.println("Speed");
  display.setCursor(54,12);
  display.println(game_speed);
  display.setCursor(52,25);
  display.println("Score");
  display.setCursor(54,35);
  display.println(score);
}

void player_car(char pos) //Place the spaceship based on the user selected position
{
  if (pos==1)
  display.drawBitmap(2, 32, ship, 15, 15, BLACK);

  if (pos==2)
  display.drawBitmap(18, 32, ship, 15, 15, BLACK);

  if (pos==3)
  display.drawBitmap(34, 32, ship, 15, 15, BLACK);
}

