Description:
This is an obstacle avoiding robot using Arduino, it is a simple car which moves forward by its own at a certain speed, once an object or obstacle is detected, it then turns its direction and again starts moving forward in that direction. The obstacle is detected by Ultrasonic sensor HC-SR04 and all processing is done through Arduino Nano. There are total 3 wheels, 2 main wheels are connected to DC motor gear box and the third wheel is a small wheel kept alone, lonely and free without any attachments, connections, control, command, order, etc….. which is basically freely movable and gives support to the car.
In Type 2, when obstacle is detected, the servo motor starts to move in 180-degree direction and the Ultrasonic sensor HC-SR04 scans for obstacles and when no obstacle is detected in any direction, the car turns to that direction and then moves forward. Car can move in any direction. We also have Type 1 car if want to check that out.
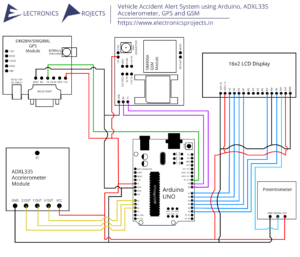
Circuit Diagram:
")
Components:
| SR. NO. | COMPONENT | PINOUT DIAGRAM | BUY |
|---|---|---|---|
| 1 | Arduino Nano (Other Arduinos can be used too) | ||
| 2 | HC-SR04 Ultrasonic Sensor | ||
| 3 | LM298N Motor Driver Module | ||
| 4 | TowerPro Micro Servo SG90 Motor | ||
| 5 | 2 x 5V DC Motors with Gear Box | ||
| 6 | 9V Battery or Any Battery ranging from 7V to 12V | ||
| 7 | 2 x Big Wheels | ||
| 8 | 1 x Slightly Small Wheel | ||
| 9 | Car Chassis | ||
| 10 | A structure which connects HC-SR04 to Servo Motor |
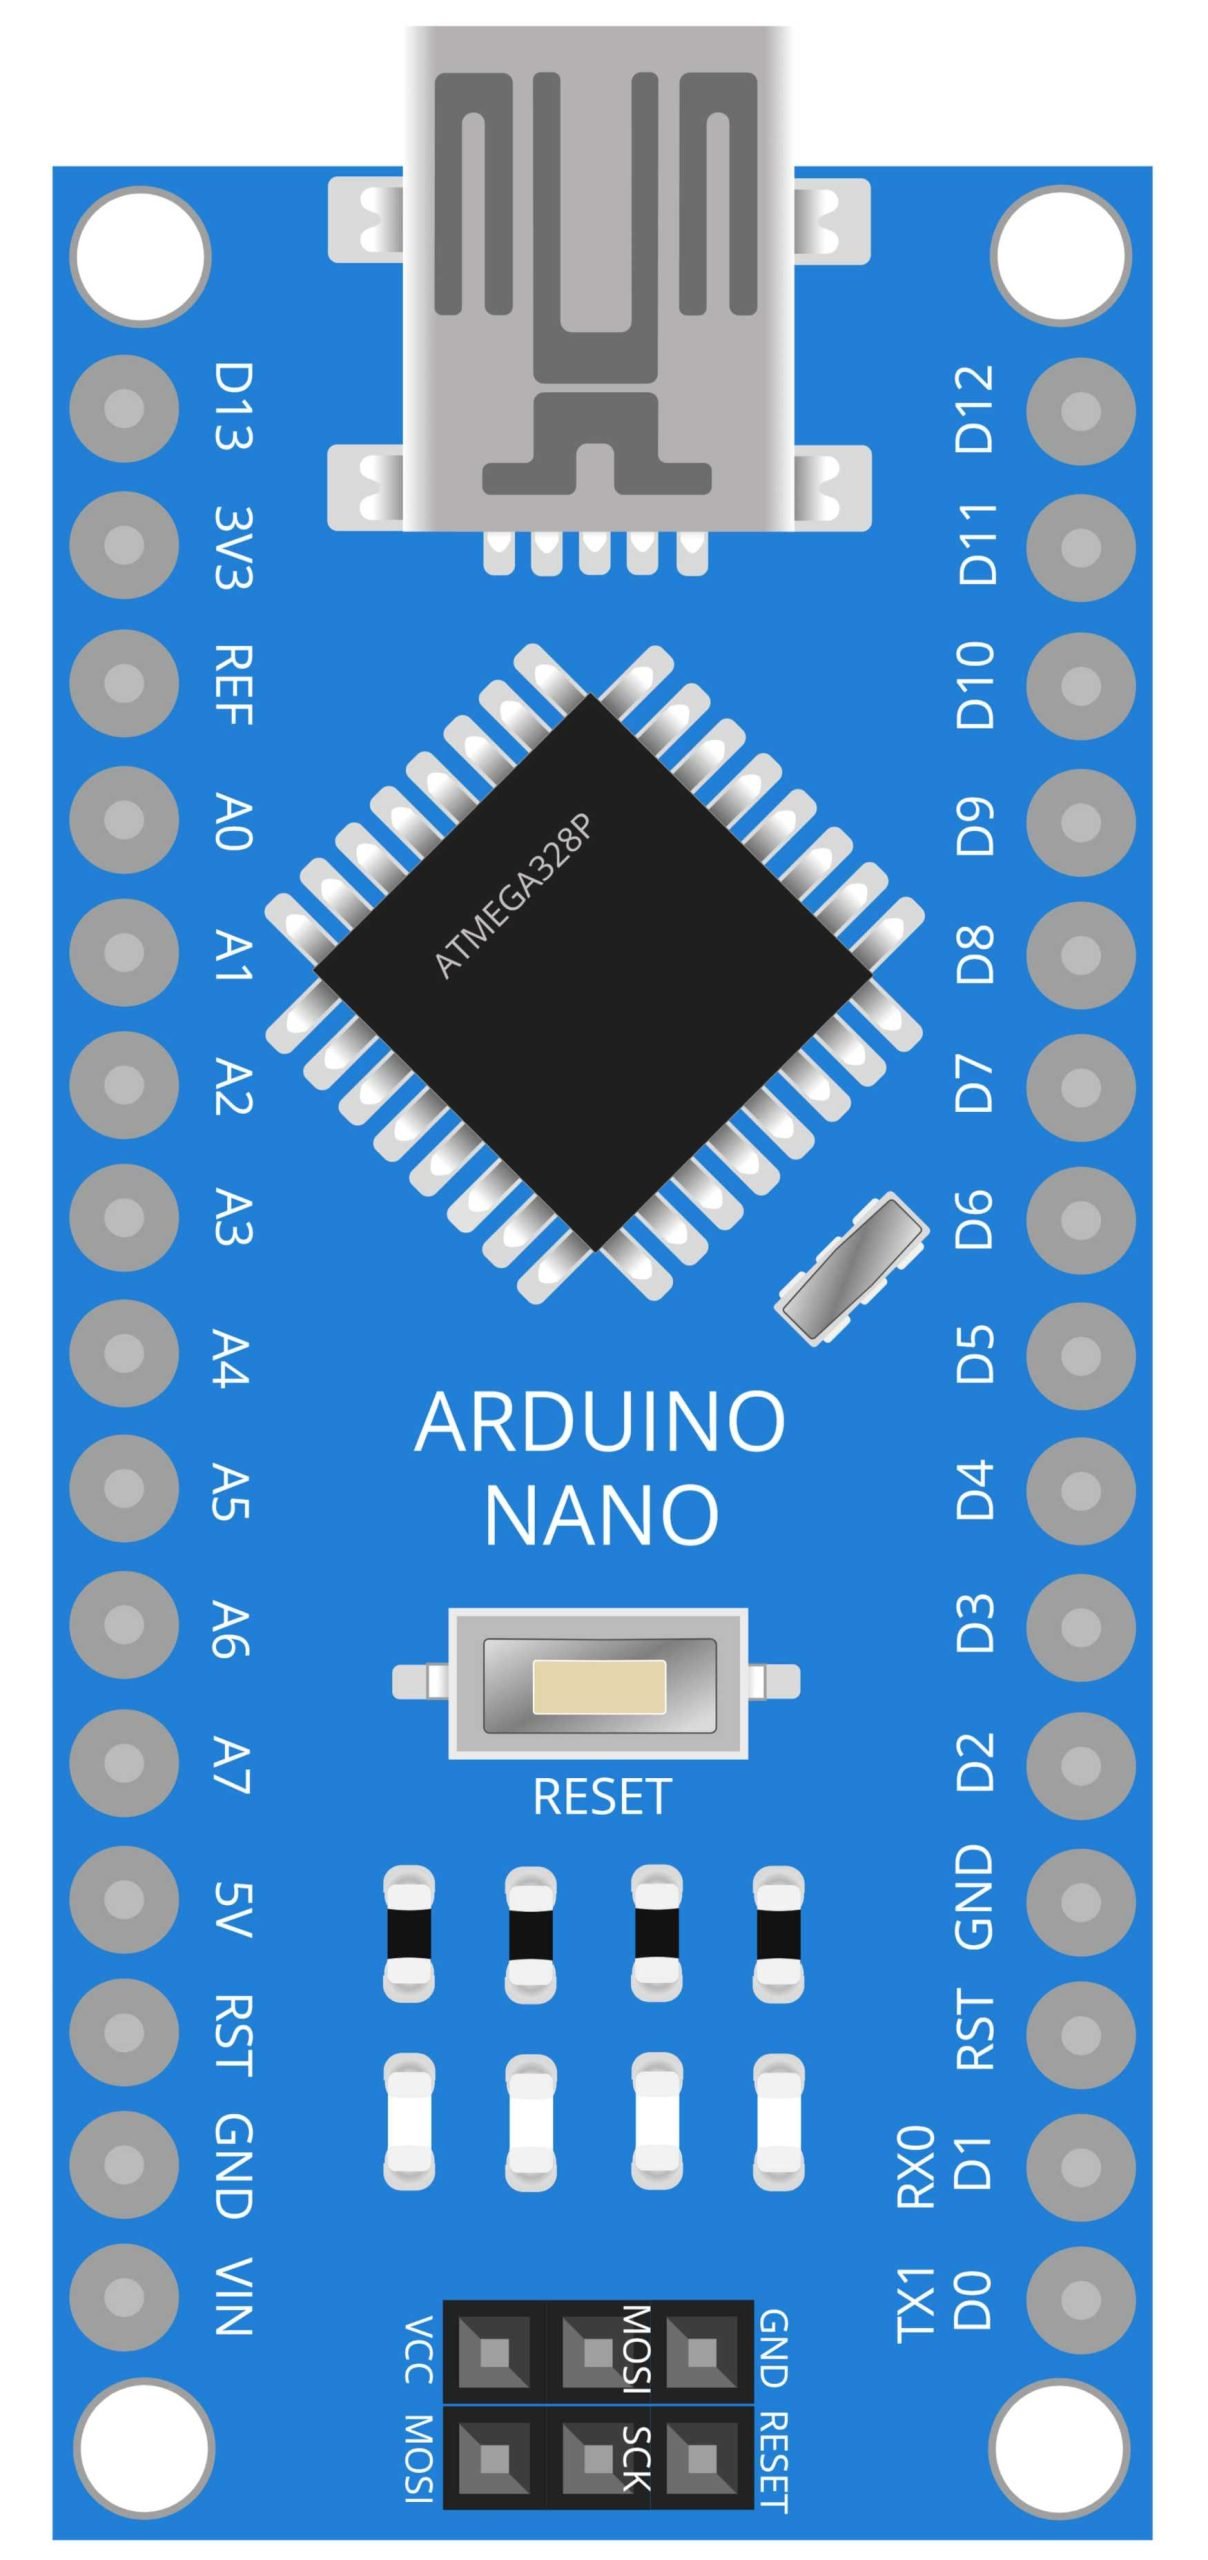
Arduino Nano
he Arduino UNO is a microcontroller board based on the ATmega328P. It has 14 digital input/output pins, 6 analog inputs, a 16 MHz quartz crystal, a USB connection, and a power jack. The Arduino UNO is a popular choice among hobbyists and makers for its ease of use and wide range of libraries and example code.
In this project, the Arduino UNO serves as the brain of the robot car. It receives data from the HC-SR04 ultrasonic sensor, which detects obstacles in the robot’s path, and controls the DC geared motors and SG90 servo motor based on the sensor data. The DC geared motors are used to move the robot car forward and backward, while the servo motor is used to control the direction of the robot’s movement. One of the main advantages of using an Arduino UNO in this project is its ease of use and wide range of libraries and example code that are available. Additionally, the Arduino UNO has a large community of users who can provide support and guidance for any questions or issues that may arise during the project.
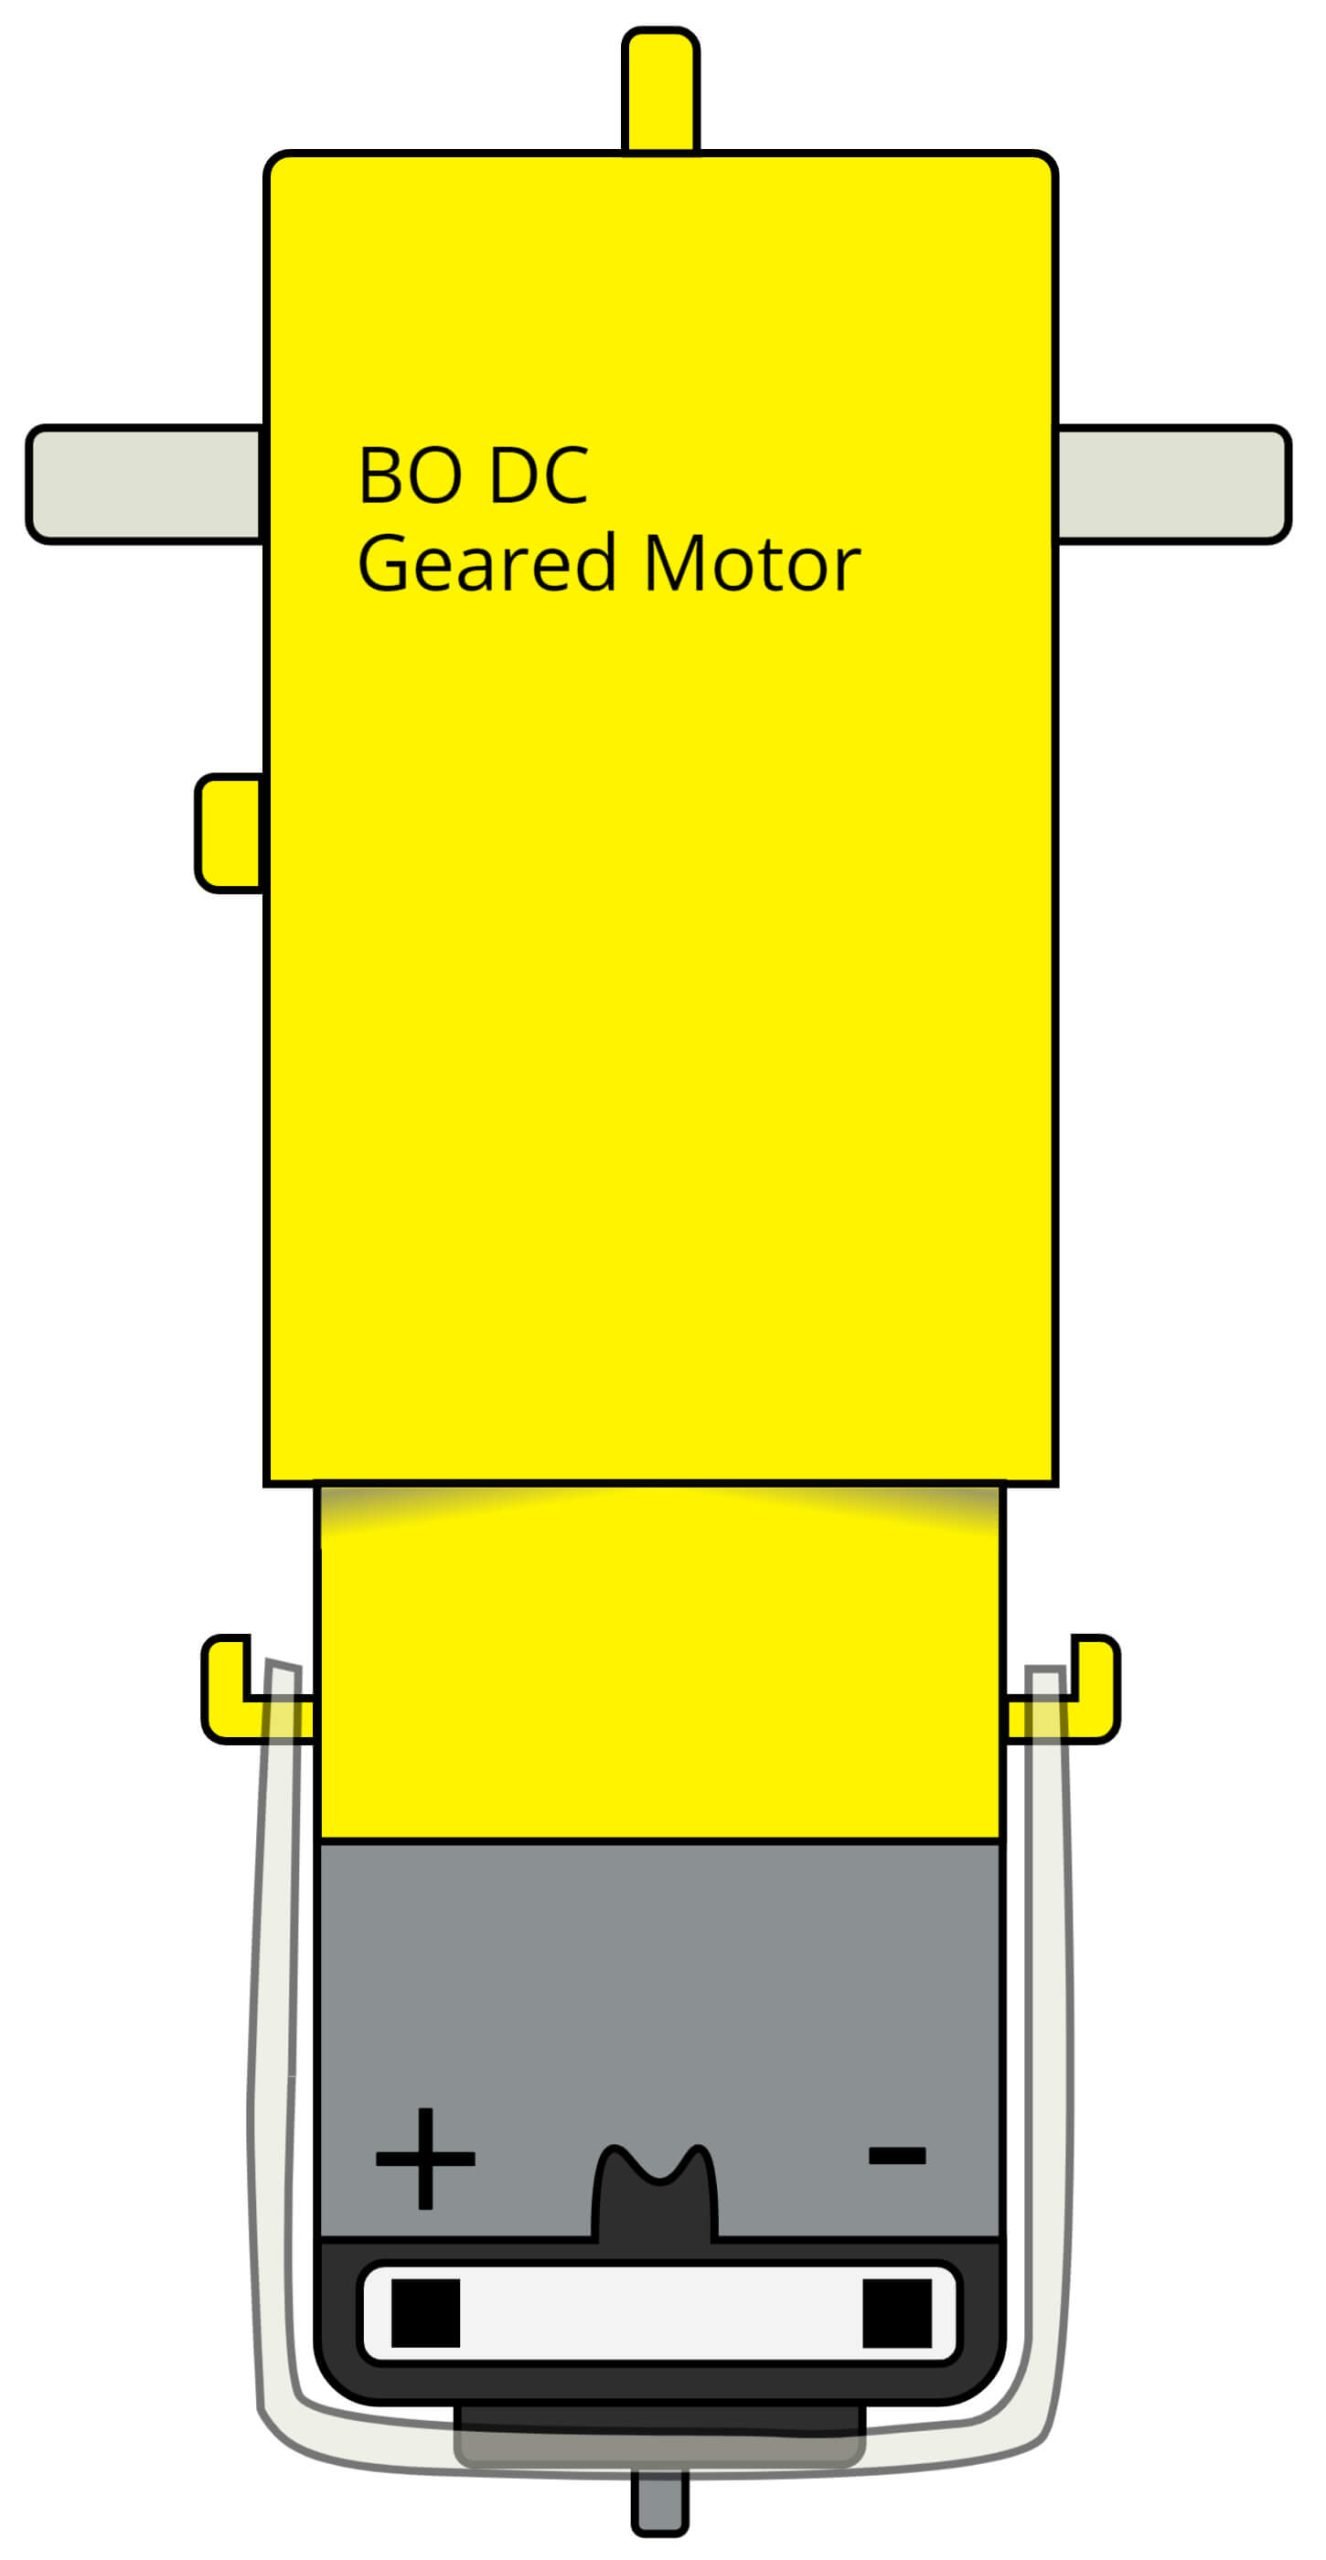
BO DC Geared Motor
A BO DC geared motor is a type of direct current (DC) motor that uses gears to increase its torque and reduce its speed. This type of motor is commonly used in robotics and other applications that require precise control of speed and torque.
In this project, the BO DC geared motors are used to move the robot car forward and backward. The Arduino UNO controls the speed and direction of the motors based on the data received from the ultrasonic sensor. Using geared motors in the robot car project allows for fine control over the speed and direction of the robot, which is important for obstacle avoidance. The BO DC geared motor is a cost-effective solution for this type of project, as it offers a high torque and speed control.
Steps and Info:
1. Get correct components as given. You can buy online or offline. I buy electronics components mostly from Amazon.
2. Start connecting the components. If you are new to connecting components in an electronic circuit, then use a Breadboard or you can straight up make connections using Jumper wires but it will create problem when there will be two or more connections needed at one pin (for example two or more different sensors 5V connection to Arduino’s 5V pin). But before soldering components on a PCB or printing a PCB for your circuit, better try using breadboard so that any errors and mistakes can be observed on breadboard and not after soldering. Or do connections in your way.
3. Now after building the circuit, download the Arduino IDE from https://www.arduino.cc/ website.
4. If you are new to Arduino IDE software, then watch this video we made specially for beginners about Arduino IDE.
5. If you know Arduino IDE then straight up copy the code we given and paste it into the Arduino IDE sketch.
6. Connect the Arduino to your Computer/device. Select a proper port, proper Arduino type and whatever other settings are. Here it is Arduino UNO. (If you don’t know what this all is then watch our video: ).
7. Compile the code and Upload it.
8. If any error occurs then try to troubleshoot it by finding/copy-pasting it into our Solve Errors page https://electronicsprojects.in/solve-errors/, or you can straight up paste the error on Internet and you know the rest. Also check if there are no spelling/syntax errors in the code. Compile the code again once to check if errors are fixed. I have given proper connections and code but still nothing is perfect.
9. Once code compiles and uploads smoothly, you can start testing the working of your circuit/project.
10. Now for this project you will need a car chassis with wheels. You can buy a chassis and wheels online, it is not costly and can be found on Amazon. But if you want to 3D print then I have given some model down below in links section. You may need to make changes in design and size as per your need.
11. Build the car, attach Gear Box Motors below the chassis at backside and attach one small wheel at the front.
11. Fix the circuit on top back side of the car.
12. Fix the Servo motor facing its shaft upward on the top front side of the car. Attach the Ultrasonic sensor to the shaft, facing the Ultrasonic transducers forward. Also keep the motor shaft in such a way that it makes perfect 180-degree turn from left side of car to the right side and vice versa.
13. Turn the car on and just let it go anywhere.
12. If it doesn’t work then check if motors are in correct position, check connections and code as well. Also you can talk with me and the community through discord. All the links to social is given at the right side of this page.
Program Code:
/* https://www.electronicsprojects.in Obstacle avoiding Robot using Arduino and Ultrasonic Sensor (Type 2) */

#include <Servo.h>
const int trig=4;
const int echo=3;
const int left1=10;
const int left2=9;
const int right1=8;
const int right2=7;
const int servosignal=2;

Servo servonew;

long duration;
int distance;
int distance_f;
int distance_r;
int distance_l;
int maxLowDistance=20;

void setup() {
pinMode(trig, OUTPUT);
pinMode(echo, INPUT);

pinMode(left1,OUTPUT);
pinMode(left2,OUTPUT);
pinMode(right1,OUTPUT);
pinMode(right2,OUTPUT);

servonew.attach(servosignal);
servonew.write(90);

Serial.begin(9600);
}
void loop() {
   distance_f=ping();
   if(distance_f > maxLowDistance){
     front();
     delay(300);
   }else{
      Break();
      get_Distance();
      if(distance_r > maxLowDistance){
        right();
        delay(300);
        front();
      }else if(distance_l > maxLowDistance){
        left();
        delay(300);
        front();
      }else{
        back();
        delay(300);
        Break();
      }

   }
}
void displayDistance(){
     Serial.print("Distance from right: ");
     Serial.print(distance_r);
     Serial.println("");
     Serial.print("Distance from ahead: ");
     Serial.print(distance_f);
     Serial.println("");
     Serial.print("Distance from left: ");
     Serial.print(distance_l);
     Serial.println("");

}
void front(){
Serial.println("Move ahead");
digitalWrite(left2,HIGH);
digitalWrite(right2,HIGH);
digitalWrite(left1,LOW);
digitalWrite(right1,LOW);

}
void back(){
    Serial.println("Move back");
    digitalWrite(left1,HIGH);
    digitalWrite(right1,HIGH);
    digitalWrite(left2,LOW);
    digitalWrite(right2,LOW);
}
void left(){
  digitalWrite(right2,HIGH);
  digitalWrite(right1,LOW);
  digitalWrite(left1,HIGH);
  digitalWrite(left2,LOW);
}
void right(){
  digitalWrite(left2,HIGH);
  digitalWrite(left1,LOW);
  digitalWrite(right1,HIGH);
  digitalWrite(right2,LOW);
}
void Break(){
  digitalWrite(left2,LOW);
  digitalWrite(left1,LOW);
  digitalWrite(right1,LOW);
  digitalWrite(right2,LOW);
}

void get_Distance(){
  servonew.write(0);
  delay(500);
  int temp_r1=ping();
  servonew.write(45);
  delay(500);
  int temp_r2=ping();
  if(temp_r1<temp_r2){
    distance_r=temp_r1;
  }else{
    distance_r=temp_r2;
  }
  servonew.write(90);
  delay(500);
  distance_f=ping();

  servonew.write(135);
  delay(500);
  int temp_l1=ping();
  servonew.write(180);
  delay(500);
  int temp_l2=ping();
  if(temp_l1<temp_l2){
    distance_l=temp_l1;
  }else{
    distance_l=temp_l2;
  }
  servonew.write(90);
  }

int ping(){
  digitalWrite(trig, LOW);
  delayMicroseconds(2);
  digitalWrite(trig, HIGH);
  delayMicroseconds(10);
  digitalWrite(trig, LOW);
  duration = pulseIn(echo, HIGH);
  distance= duration*0.034/2;
  return distance;
}